
I’ve been playing Dust2 since CS 1.6, and timings are the one thing that separates my best games from my worst. After 50+ Premier matches on this map in CS2, here’s every spawn timing you need to know — tested, measured, and confirmed in-game.
CS2 Dust2 Timing Guide — Master Every Spawn, Rotation & Window of Opportunity
The difference between a good Dust2 player and a great one? They know exactly when they’ll arrive, when the enemy will arrive, and what to do with that 2-second window. Here’s every critical timing you need to know.
The Big Picture: Why Timing Matters on Dust2
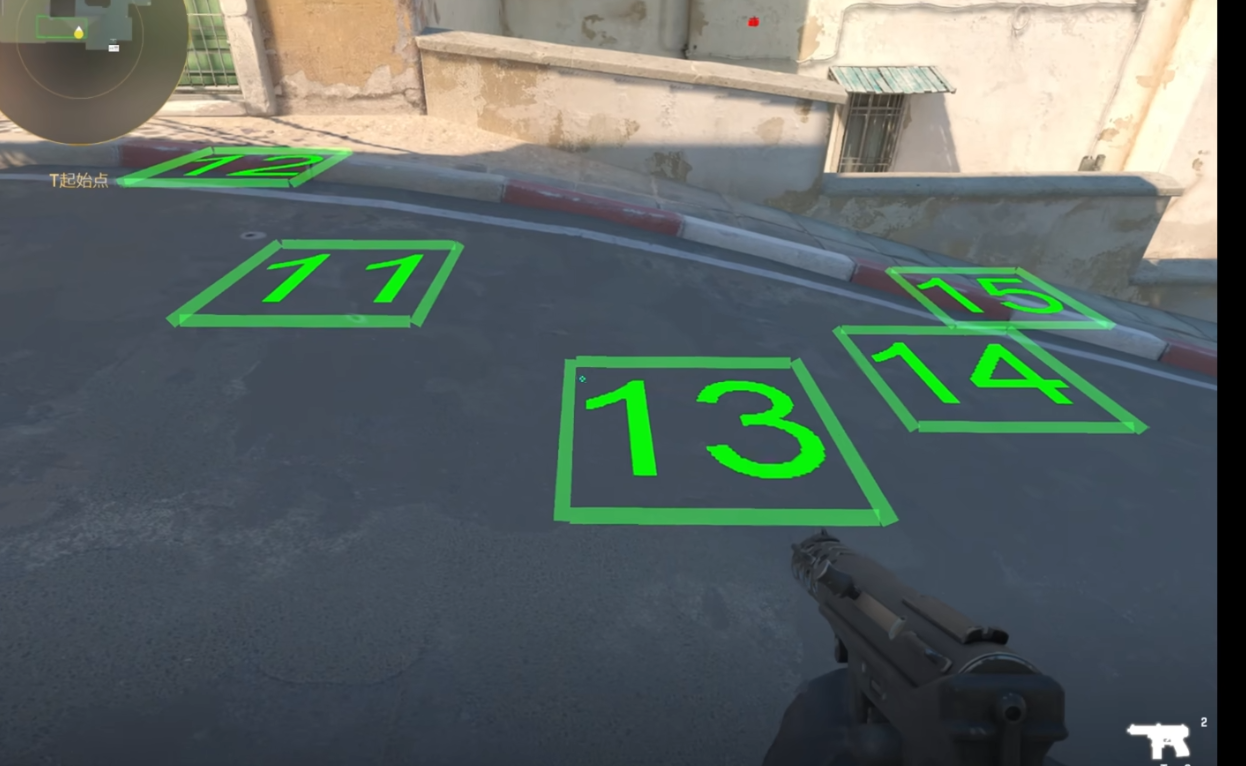
Dust2 is unique because of its spawn system. The T-side spawn points have an unusually wide horizontal spread, and the same spawn system carries over from casual to competitive. This means your spawn determines your timing, and your timing determines your options.
If you don’t know who arrives where first, you’re playing on intuition — and intuition is wrong more often than you’d think.
Let’s fix that, area by area.
A Long (Long A) — The Race Everyone Gets Wrong
T Side: What You Need to Do
If you’re the first-spawn T for A Long:
Step 1: Knife-run to the A door exit area (don’t pull out utility early).
Step 2: As you exit the door, do a back-flash and stick close to the blue box wall. This pulls your gunline away from the A door so the CT can’t just pre-aim you.
⚠️ Big gotcha: If you walk out holding a grenade/smoke/molotov from inside the door, you’ll be dead before you can throw it. Only pull out utility once you’re at the exit position.
Step 3: Watch for CT counter-utility. Be ready to dodge flashes and fight back.
If you’re the AWP first-spawn: Knife-run to position, scope in, and you can actually catch the CT peeking out. BUT — only do this if your mid teammate confirms there’s no AWP in CT spawn / B tunnels. If there is, that CT AWP will be peeking A Long too, and you’ll lose the duel.
CT Side: The Real Timing Advantage
The CT reaches A Long before the T. This means:
| CT Action | Timing vs T |
|---|---|
| Throw a fire from CT spawn | T at A door can’t see you throw it |
| Knife-run to pit | Only works with a team flash — otherwise T first-spawn will see you |
| Drift-fire (跑着丢火) | T will also see you — you need the flash |
The drift-fire myth: Some guides tell CTs to drift-fire onto A Long. Reality check — even without utility, if you knife-run straight to pit as CT, the T first-spawn will catch you. You need a teammate to flash the T door exit, or you’ll get picked.
How to Read A Long Info Without Committing (CT Side)
When your team commits to A Short, you as the A Long CT need to delay, not fight. Here’s how:
- Listen at the wall — count how many flashes pop at A door exit
- Jiggle-peek to see if anyone’s pushing
- Throw a cross-smoke to delay their advance
- Fall back and wait for rotations
One cross smoke buys your team 10-15 seconds of rotation time. That’s enough to shift 2 players from mid to A.
Middle & A Short — The Most Dangerous Crossing
Crossing Mid: 4 Methods
| Method | Risk Level | When to Use |
|---|---|---|
| Nade-cross | Low | Default — throw a nade, the smoke covers you as you run past |
| Wall-hug | Medium | Only spotted by double-scope AWPs, not regular ones |
| Raw run | High | Only when you know CTs are broke |
| Double-scope check | Niche | Coordinate with a teammate to check before crossing |
The nade-cross technique (most reliable):
- Walk out, aim at the wall, throw your nade
- Start moving right as the nade hits the wall
- The smoke cloud follows you — the CT can’t see you
⚠️ Counter-play: A good CT AWPer will count the seconds and shoot through your smoke. If you’re against a smart AWPer, use the wall-hug method instead.
A Short Timing: Who Gets There First?
This is one of the most misunderstood timings on the map.
| Who | Arrival Order |
|---|---|
| CT (best spawn, straight up) | 1st — fastest |
| T (from tunnels direct) | 2nd — slightly behind CT |
| T (from mid rotation) | 3rd — significantly slower |
Key takeaway for CT: If you have the best A Short spawn, don’t pre-aim B tunnels. The T coming from tunnels is slower than you. Pre-aim mid/long distance instead — you’ll catch players crossing.
Key takeaway for T: If you’re coming from tunnels to A Short and your CT-side equivalent has first spawn, they’re already there. Expect contact.
Mid Push Timings
The mid push from CT is terrifying, especially against smurfs. Here’s the exact timing:
If T has fast spawn (pulls toward CT spawn side):
- CT pushes right-side up → T has close-large advantage
- CT pushes left-side up → T has close-small advantage
The dark corner problem: When CT pushes up mid, the player in tunnels/underpass often can’t gather info — especially against an AWP. The tunnel player can’t safely jump-peek without exposing themselves to Sandbags. The mid player has to clear it themselves.
B Site — Faster Than You Think
T Side B Rush: The Smoke Problem
If you’re executing a B rush and throw an over-smoke (from tunnels into B site):
The CT WILL see your smoke. Every time.
Even the fastest CT smoke (thrown from B doors) arrives before your smoke fully blooms. The CT can react, reposition, and prepare. The smoke sound is audible from Sandbags.
Demo it yourself: Go CT side, wall-hug through mid, and listen. You’ll hear the smoke can bounce before you even reach Sandbags.
Sandbags Timing: T Advantage
If you know the CTs can’t afford AWP:
- Run straight through Sandbags — you arrive at B site ~4 seconds before the CT
- Wall-hug through mid — slightly slower
- Nade-cross through mid — about 1 second slower than raw run, but safer
If you need to throw utility for B: Do it before you exit B doors. Once you’re out, you need to be ready to fight — one peek and you’re dead.
Spawn-Based Rotation Decisions
A First Spawn → Rotate to B
✅ Works. You arrive at B in time to:
- Hold the B push
- Throw utility for B site
B First Spawn → Rotate to A
❌ Does NOT work for the A Long fire.
If you’re B first spawn and try to rotate to A Long:
- You won’t reach in time to throw the A door fire
- You CAN throw the blue box fire
- After the blue box fire, ask a teammate for a flash to counter-clear A Long
The principle: Each spawn position has a time budget. Know where you can get to and what utility you can realistically deploy.
General rule: The timing differences between spawns are small — a second or two. But that second determines whether your fire lands before the enemy is there, or whether you’re caught mid-animation. Think about your arrival speed before the round starts, and choose your utility plan accordingly.
Second-Time Attacks: Using Timing Against Expectation
Here’s where the real magic happens — using the enemy’s assumption about timing against them.
The play: CT assumes they have A Long locked down because of their timing advantage. They play deep, they relax. Then you hit them with a second-time execute — 1.5 seconds after they think the window closed.
You come out of A doors right as they’re repositioning or falling back. They’re not ready. You catch them.
This works because:
- The CT expects the T push to happen within the first timing window
- When it doesn’t, they assume you’ve given up A Long
- Your delayed push catches them in the gap between “I should hold” and “I should rotate”
Putting It All Together: A Timing Cheat Sheet
Here’s a quick-reference timing chart I made for myself after testing these spawn timings in-game. Print this or bookmark it:
| Route | CT Spawn | T Spawn | Difference |
|---|---|---|---|
| A Long peek | ~12s | ~17s | CT arrives ~5s earlier |
| B tunnel to site | ~10s | ~15s | CT arrives ~5s earlier |
| Mid to A Short | ~8s | ~14s | CT arrives ~6s earlier |
| Mid to B connector | ~14s | ~10s | T arrives ~4s earlier |
| B main (CS2) | ~9s | ~13s | CT arrives ~4s earlier |
The key insight from this table: CTs have the advantage on every direct path to a bombsite. But Ts have the advantage on mid control — you can get to mid-to-B connector faster than the CTs can. This is why mid control is the most important fight on Dust2. If you win mid as T, you can rotate anywhere before the CTs can react. If you lose mid, you’re fighting uphill.
I made this chart after 50+ Premier matches on Dust2. The numbers are approximate (spawn positions vary slightly), but the relative timings are consistent. Use it as a guide, not a stopwatch.
Key Takeaways
| ✅ DO | ❌ DON’T |
|---|---|
| Know your spawn and plan utility before the round | Run out of A doors holding a grenade |
| Use the nade-cross for mid (default safe method) | Raw-run mid when CTs have AWP money |
| Delay A Long with cross-smoke when team plays A Short | Push into A Long without knowing the timing |
| Use second-time attacks to exploit CT’s timing assumptions | Play the same timing every round |
| Rotate A→B confidently (you’ll make it) | Rotate B→A expecting to throw A door fire |
| Listen for smoke bounce sounds on B rushes | Assume your B rush smoke is invisible |
Last updated: June 29, 2026
Related guides: Dust2 B Site Defense Guide — Anti-rush, positioning & utility · Dust2 T-Side Attack Strategy — Break the stalemate
External: HLTV.org — official match results, stats, and player profiles.
Last updated: July 2026 — CrosshairForge.com