
I’ve lost more rounds holding Dust2 B than I’d like to admit. After studying a comprehensive breakdown by a Chinese pro coach (Dimsum, ex-pro with 400+ students and 20+ pro trainees), I finally understand what I was doing wrong. It’s not about holding one angle and hoping for the best. It’s about solving three core problems and handling each one with the right utility, positioning, and team coordination.
Here’s what this guide covers:
- Getting to B alive (sand crossing without eating a bullet)
- Anti-rush setups (solo and duo)
- Active peeking with utility
- Anti-pincer defense
- Dual rifle formations used by BC Gaming and Vitality
- Secondary B / rotator role
The Three Problems of B Defense
Holding B on Dust2 comes down to solving three distinct threats:
| # | Problem | The Enemy’s Goal |
|---|---|---|
| 1 | Anti-Rush | Ts sprint through B tunnels within the first 10 seconds |
| 2 | Anti-Dying | You get picked crossing sand or peeking without utility |
| 3 | Anti-Pincer | Ts split through B tunnels + B doors / doghouse simultaneously |
Solve these three problems correctly (and no, you don’t need perfect aim to do it) and B becomes one of the safest sites on the map.
Part 1: Getting to B Site Alive (Sand Crossing Methods)
Before you can defend anything, you need to get to B without donating your rifle to the enemy team. Here are three ways to do it.
Option 1: Fast Spawn (Right-1 or Right-2)
If you spawn on the right side of CT spawn (the best spawns for B), you can jump across the sand directly.
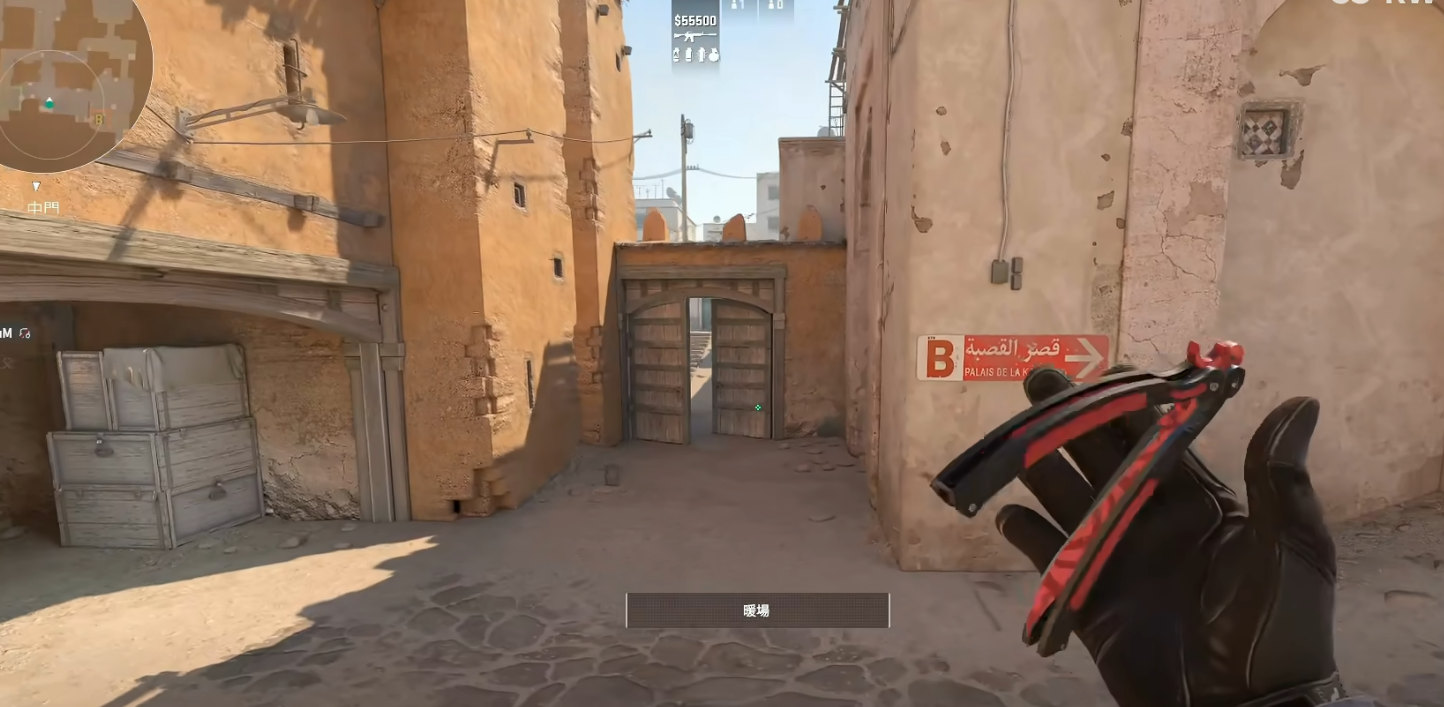
The key is to jump while moving. A running jump trajectory makes you a much harder target than a straight sprint. The timing window is tight enough that the enemy AWPer in T spawn can barely react.
Pro tip: Vary your jump timing. If you always pop up at the same spot on the sand, a smart AWPer will pre-aim that arc and clip you before you even land.
Option 2: Bad Spawn (Grenade Cover)
Spawned on the A side and need to rotate to B? Don’t dry-peek the sand. Here’s the pro routine:
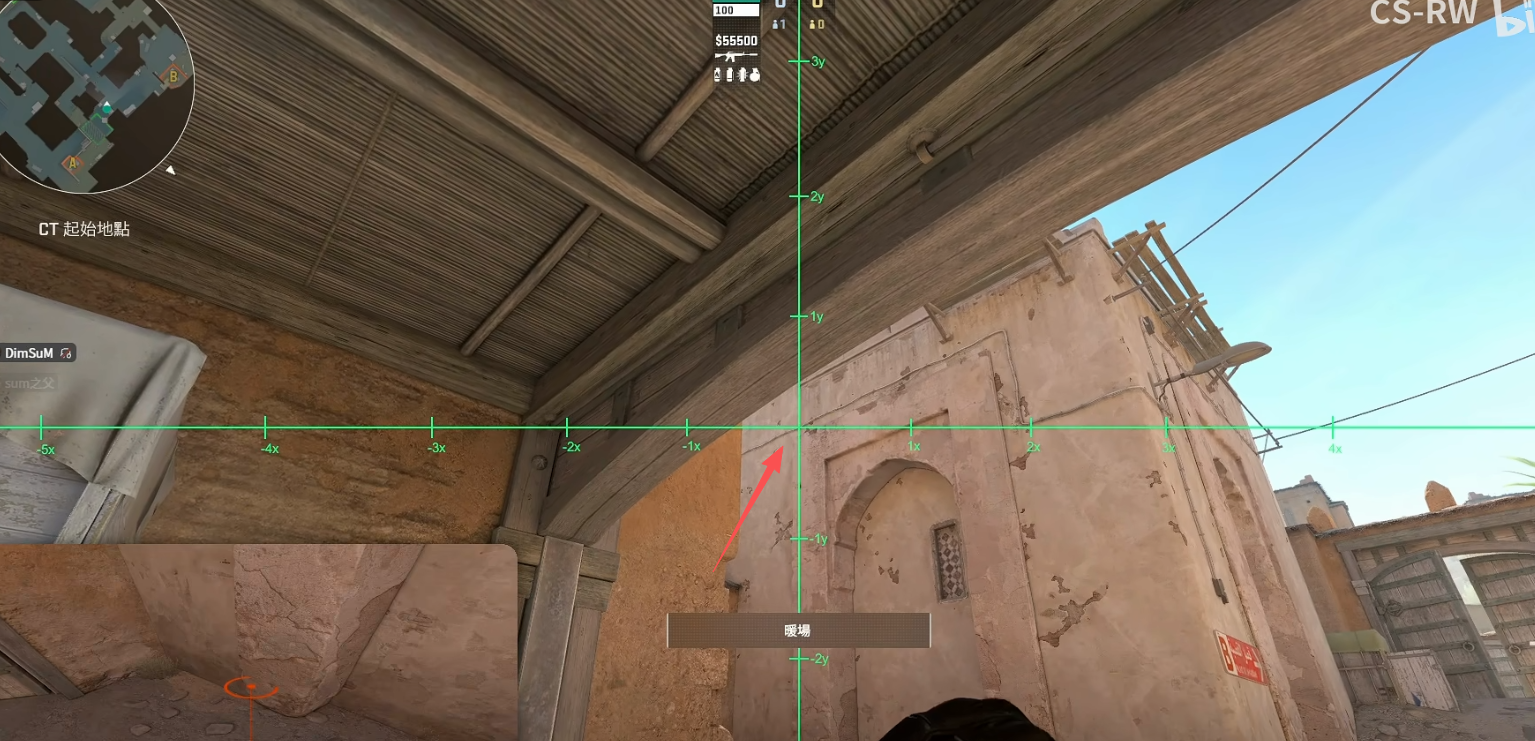
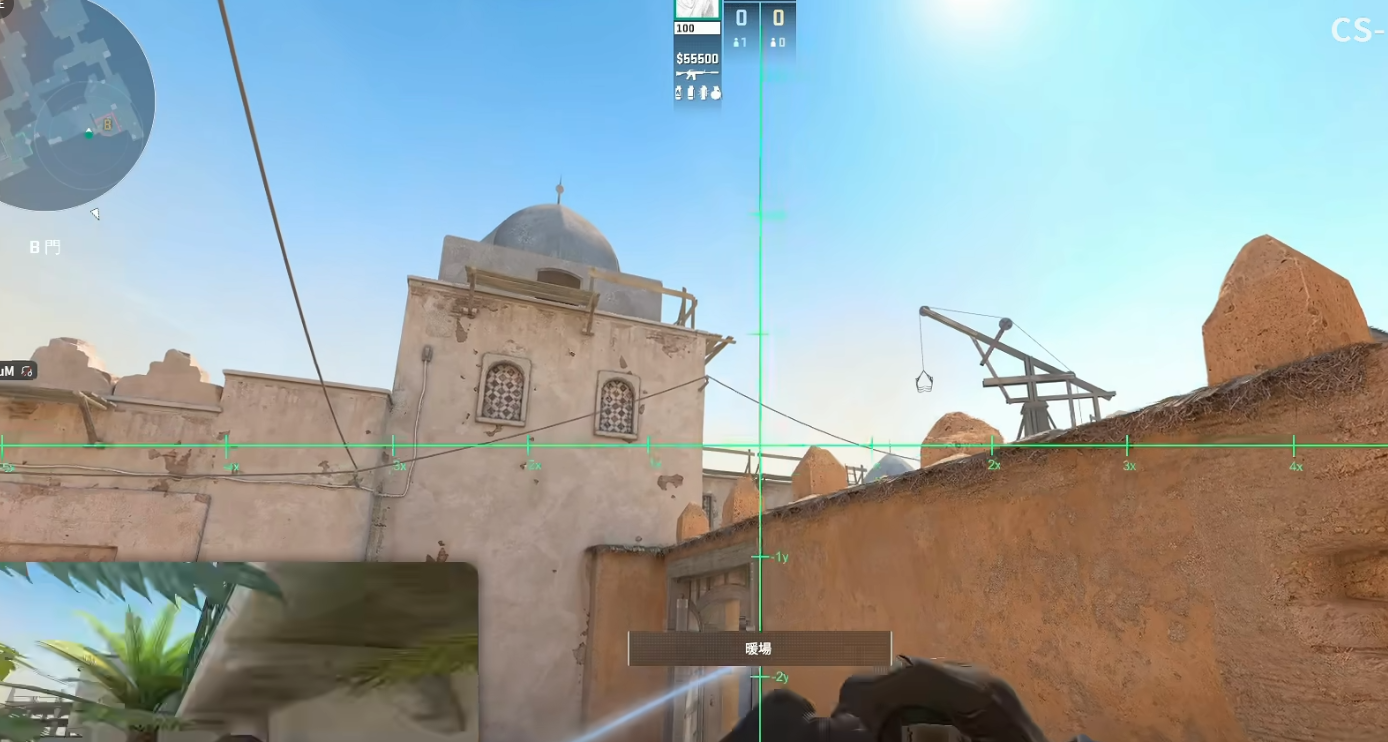
- Line up the dark spot on the ground with the antenna on the roof. That’s your crosshair intersection.
- Hold left-click + right-click (double button throw) a HE grenade.
- Wait for the explosion, then cross.
The explosion does two things: it messes with the AWPer’s vision, and it tells you if they’re holding from a specific angle. If you hear the grenade tag someone, you know exactly where they’re posted.
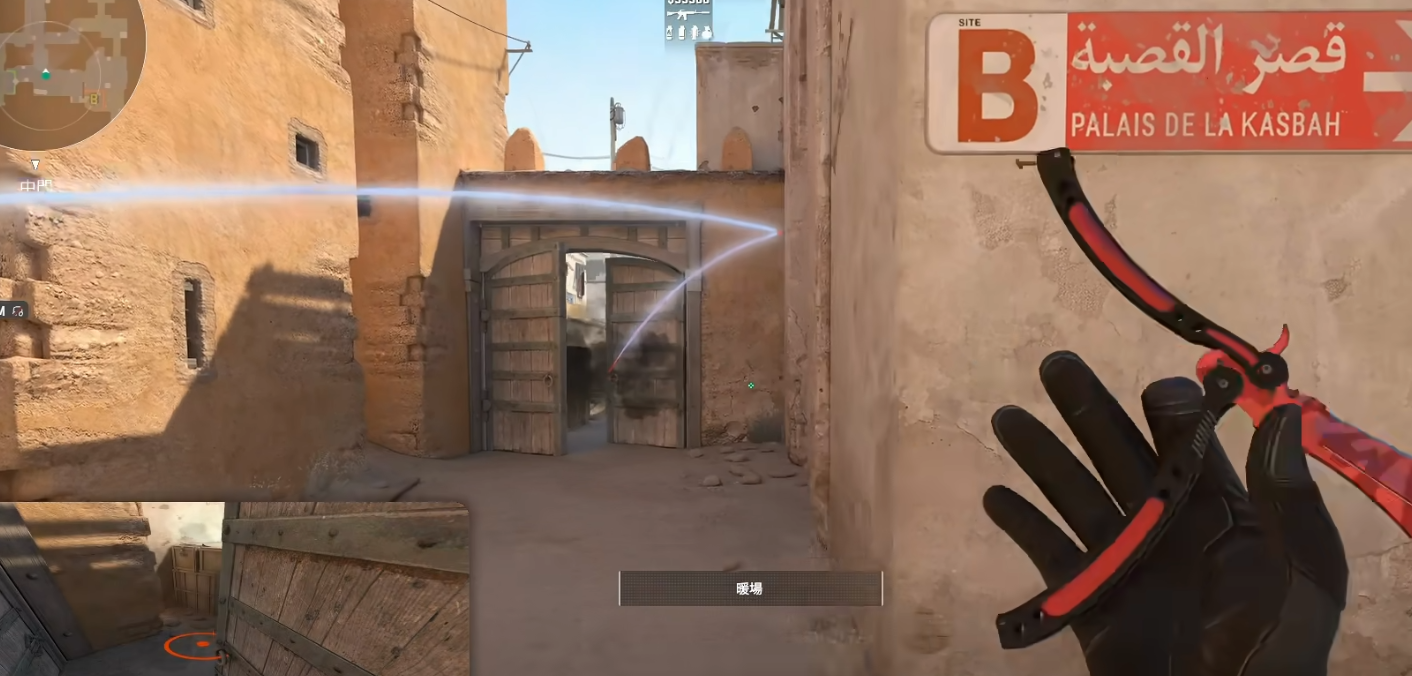
Option 3: Unexpected Timing
Mix in short peeks, shoulder peeks, and crouch-walking. The worst thing you can do is take the exact same path at the exact same speed every single round. Good players will pre-aim the regular route and clip you the moment you step out.
Once you’re across the sand, hug the B doors wall and you’re safe.
Part 2: Anti-Rush (Duo Setup)
In a standard Dust2 CT setup, you’ll usually have two players on B. Here’s how they split responsibilities:
| Role | Position | Job |
|---|---|---|
| Doghouse Player | Enters through doghouse | Throws fire, drops smoke, provides first contact |
| B Door Player | Enters through B doors | Throws nade, listens at white car, holds B tunnels |
Doghouse Player Routine
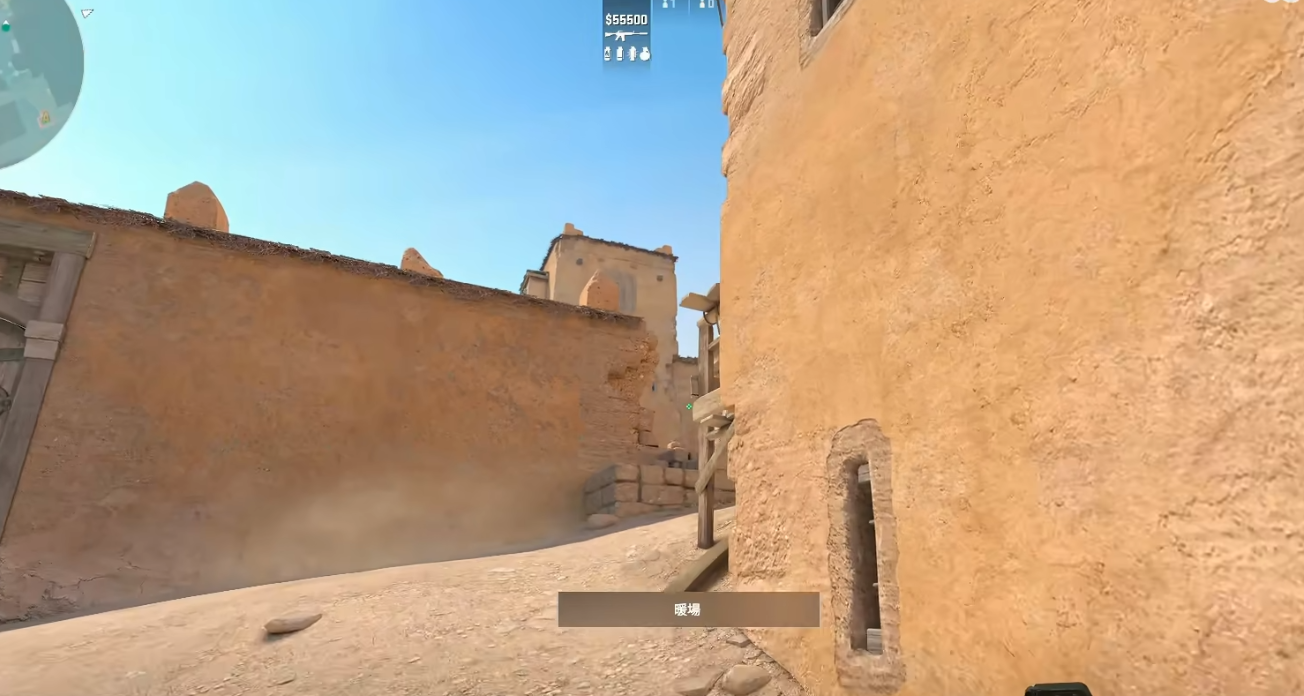
- Enter via doghouse — never through B doors. You’re way too exposed to a face-full of bullets if the Ts rush.
- Throw fire into B tunnels immediately. This buys you a few critical seconds.
- Drop down from doghouse with a smoke in hand (right-click it).
- Listen at the crack in the wall for enemy footsteps.
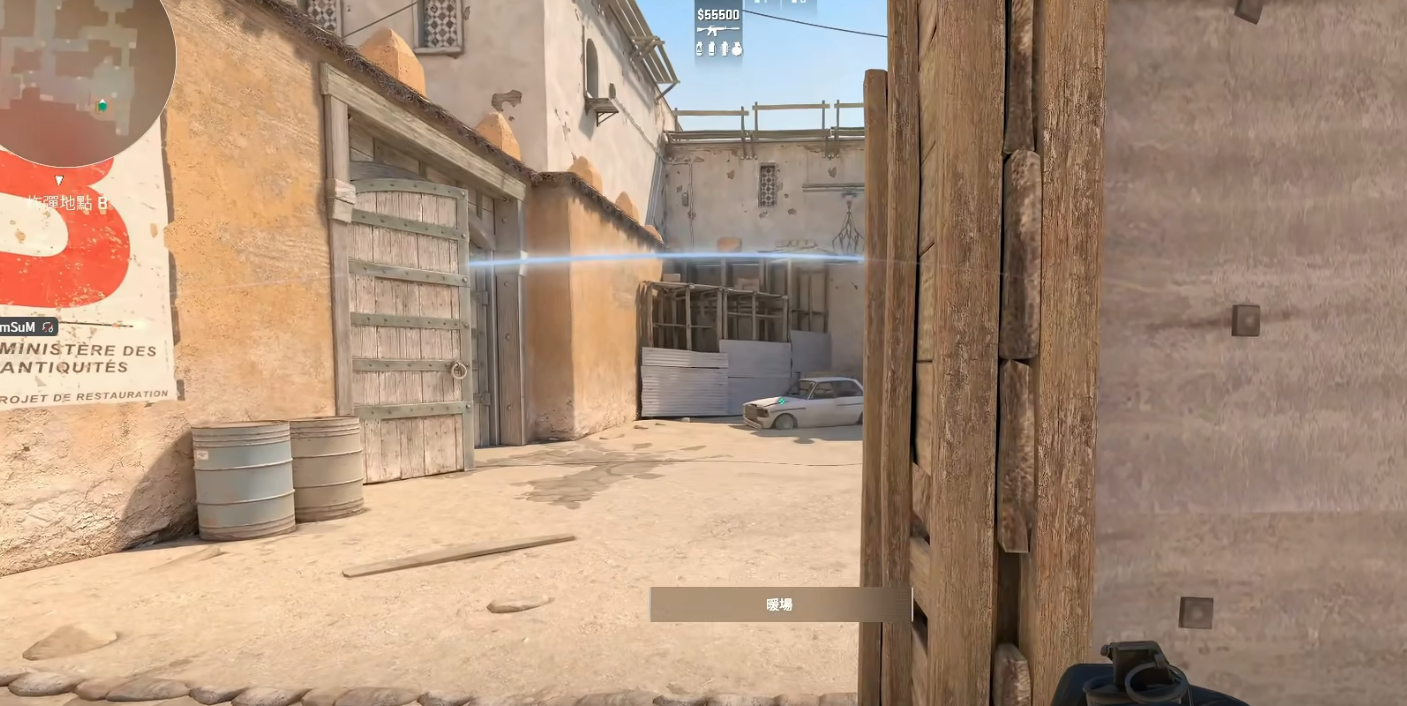
When you hear the rush coming: right-click smoke or right-click flash into the gap, then step through to meet them. But only after your utility is down.
Never stand at the fake wall near the entrance. A well-timed flash from B tunnels will blind you before you even see anyone. If you must peek that angle, do it after your utility is deployed.
B Door Player Routine
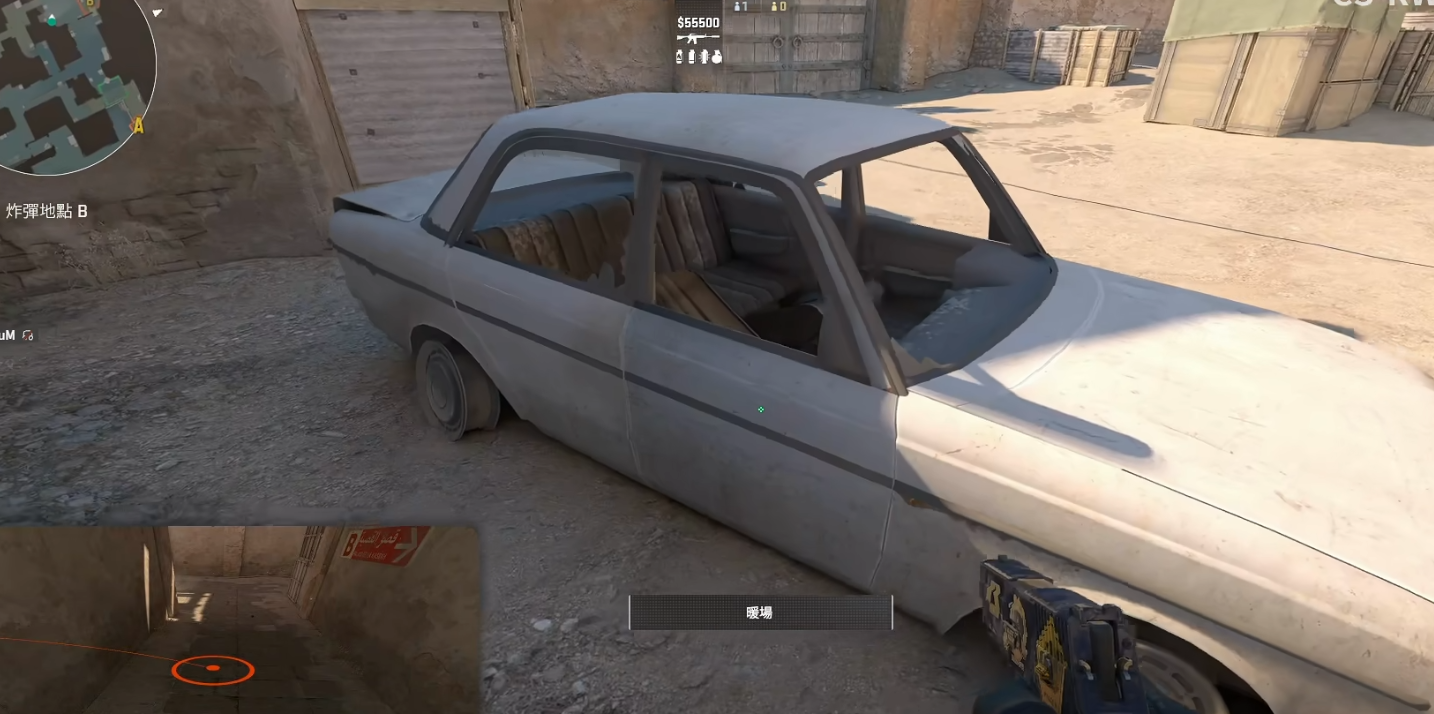
- Throw a nade toward B tunnels as you enter.
- Move to the right side of the white car (the door panel side).
- Hug the wall and listen for footsteps.
- Turn your head slightly left — this protects you from double-button rush flashes.
The white car position is smart because the car roof blocks most fake-door flashes from B tunnels. Unless the Ts coordinate a perfect pop flash, you’re safe to listen and react.
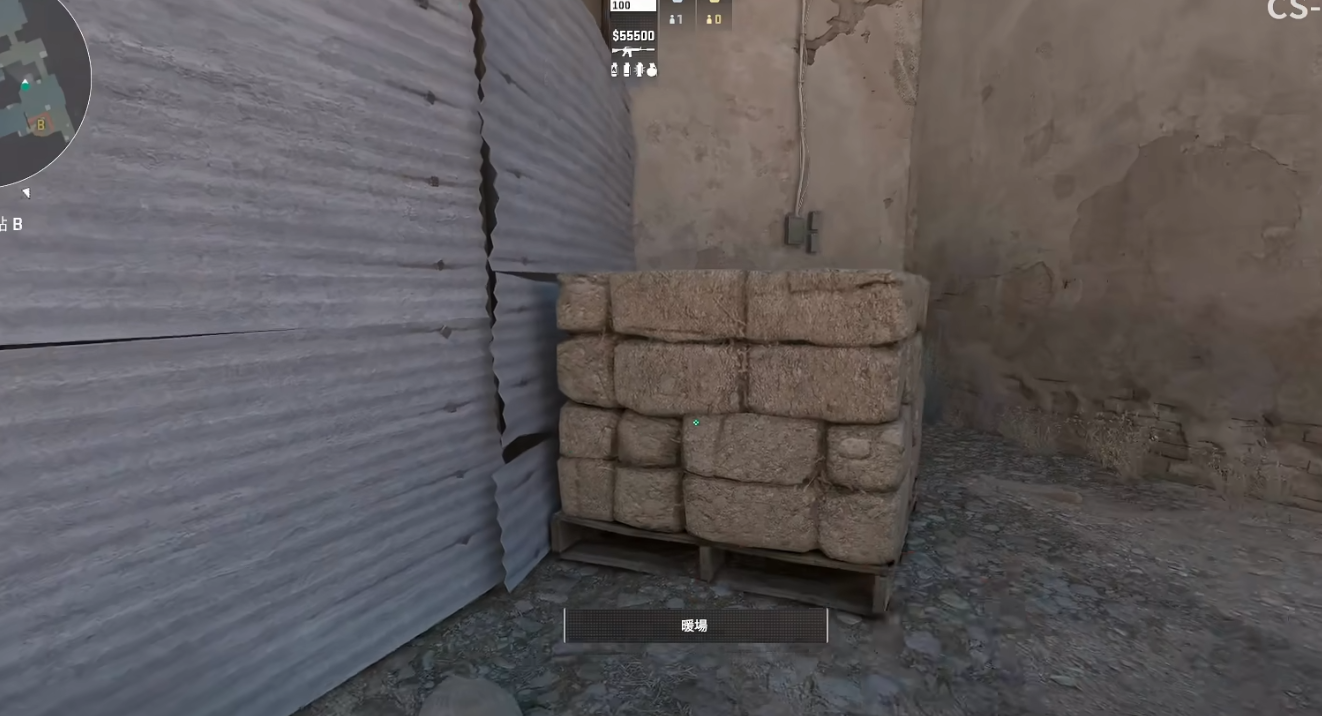
When you hear the Ts commit to the rush: peek and engage. If your doghouse teammate fires first, let them draw attention, then peek to trade. One fires, the other trades. Textbook crossfire.
Part 3: Solo B Site Anti-Rush Setup
Sometimes you’re the only CT on B. This is tough, but the coach has a specific ropz-style routine that works.
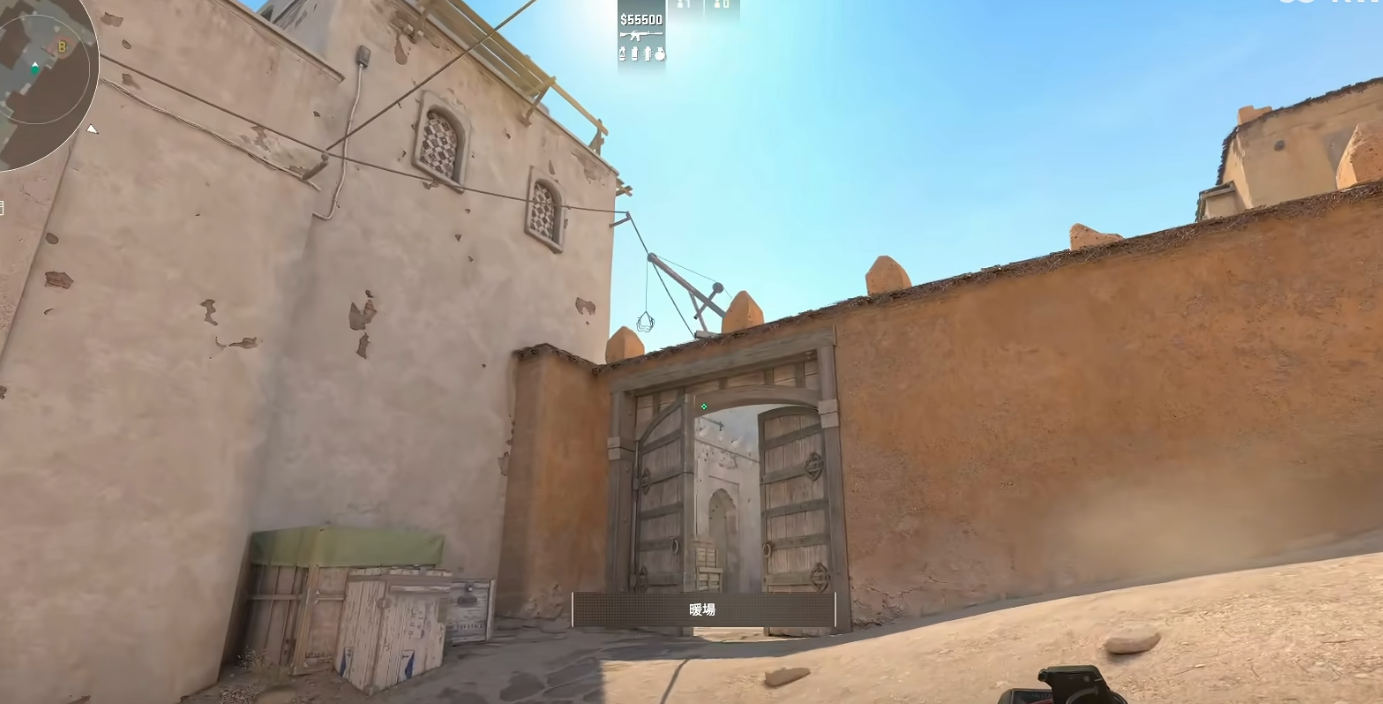
- Cross sand safely.
- Throw fire into B tunnels from the right side.
- Jump-throw a smoke into the B tunnel entrance.
- Hug the wall by B doors and listen.
If the Ts rush:
- Wait for their flashbang to pop — count to two after you hear it land.
- Peek as the flash’s white screen fades — they’re expecting you to be blind, not peeking.
- Get one or two picks while they’re crossing through your fire and smoke.
Here’s the thing: you don’t need to hold the site. If you can trade 1-for-1 or (even better) 1-for-2, you’ve won the round. Give up B, make them pay for it, and let your teammates retake.
If you catch them crossing through your utility and make it a 5v4 or 5v3 before you die, that’s a winning trade. Every single time.
Part 4: Active Peeking with Utility
Once the initial anti-rush window passes (the first 20-30 seconds), you need to actively gather information without dying. Here’s how.
The Aggressive Peek (Big Box)
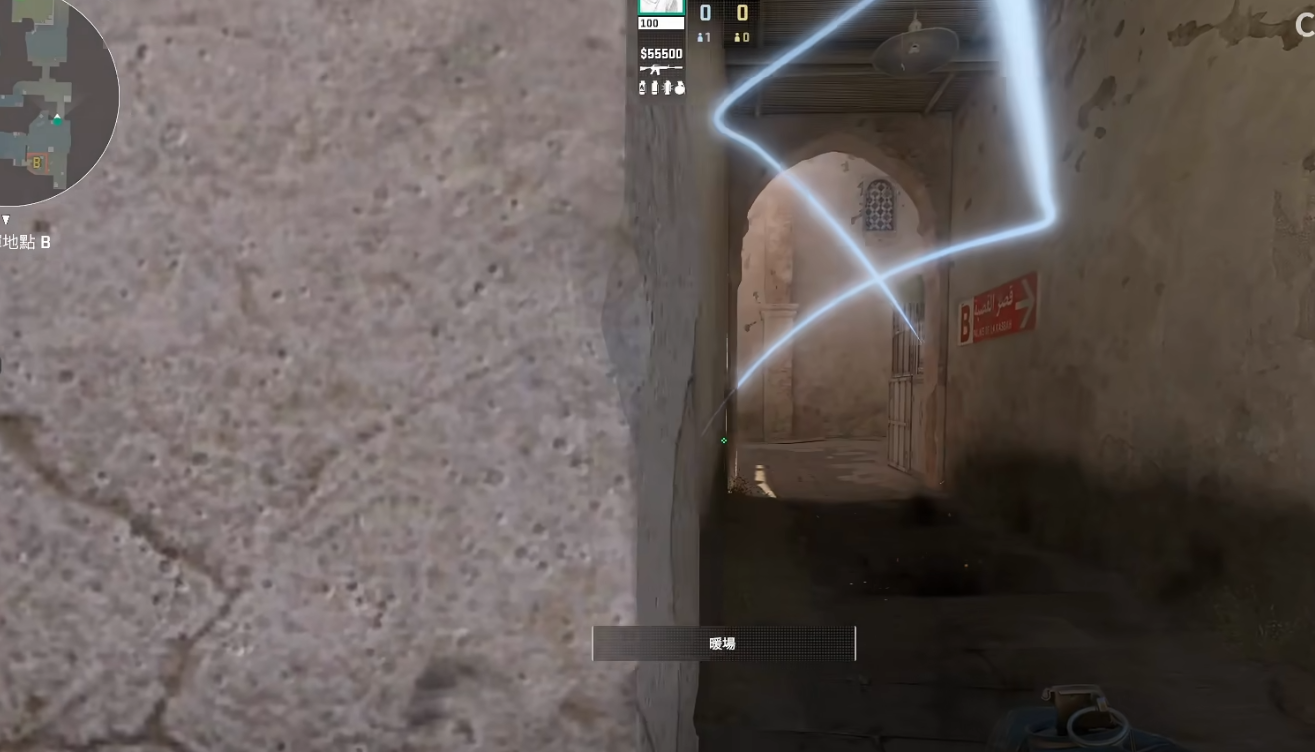
- Throw fire into B tunnels (standard anti-rush).
- Turn your back to the tunnel to dodge incoming flashes.
- Pop a flash toward B tunnels.
- Hold a smoke in your hand and peek from big box.
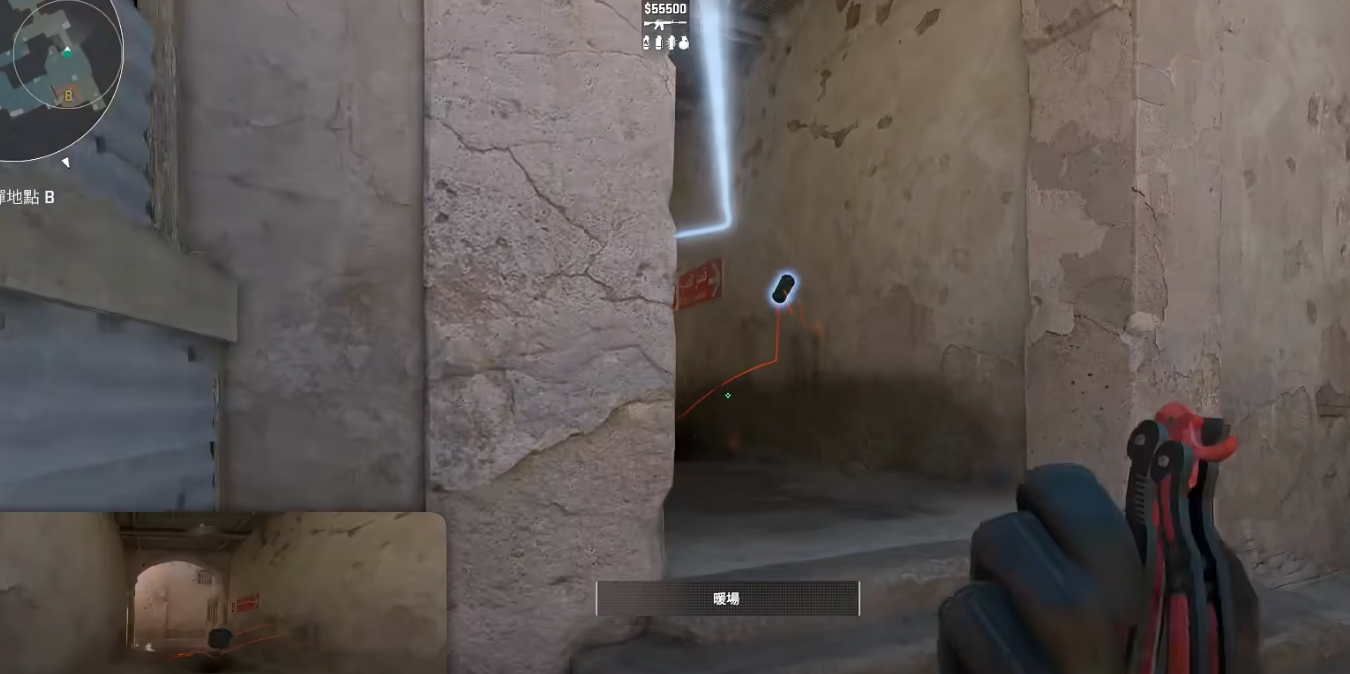
Critical Decision Point
If you see Ts executing (rushing): DO NOT smoke B tunnels. A smoke won’t stop a committed rush. They’ll flash through it and be on top of you before you can react. Instead, smoke at your feet (to the right or left) to create personal cover.
If you see Ts defaulting (slow playing): Do smoke B tunnels. This buys time and forces them to use utility just to cross into the site.
The Counter-Smoke + Flash Combo
Once you’ve spotted a T during your peek, you’ve got two options:
Option A: Smoke Right, Flash Left
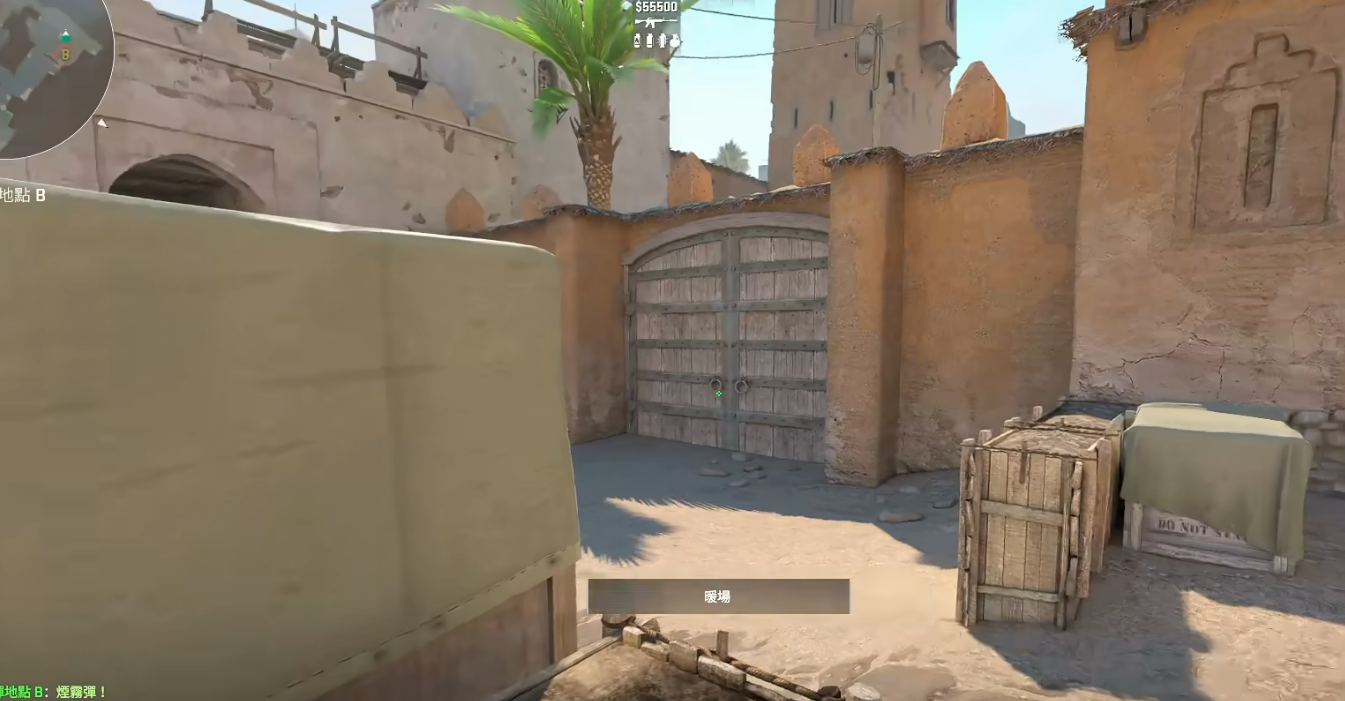
- Smoke to your right (creates a concealment wall).
- Flash left.
- Fall back toward the oil drum position.
- Peek and take one kill.
- Jump into the smoke to survive.
Option B: Smoke Left, Flash Right
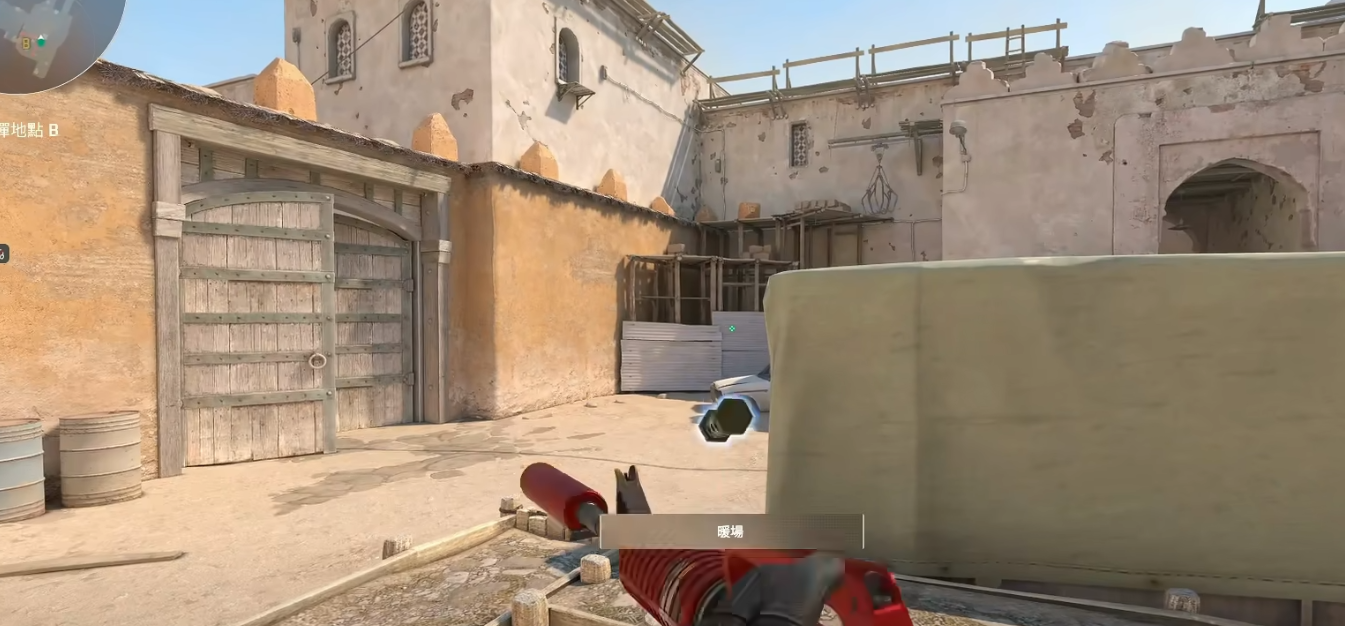
- Smoke left, flash right.
- Pull to the right side.
- Get one pick.
- Hide in the smoke.
- Wait for your teammates’ retake flashes.
The goal every time: at least a 1-for-1 trade. If you can trade even one kill on a T team that’s executing B, their attack loses momentum and your team rotates in time to clean up.
Part 5: Anti-Pincer Defense on Dust2 B Site
The toughest scenario: Ts hit B tunnels + B doors / doghouse at the same time. Here’s how to handle the split.
The Split Defense
If you have two rifles on B:
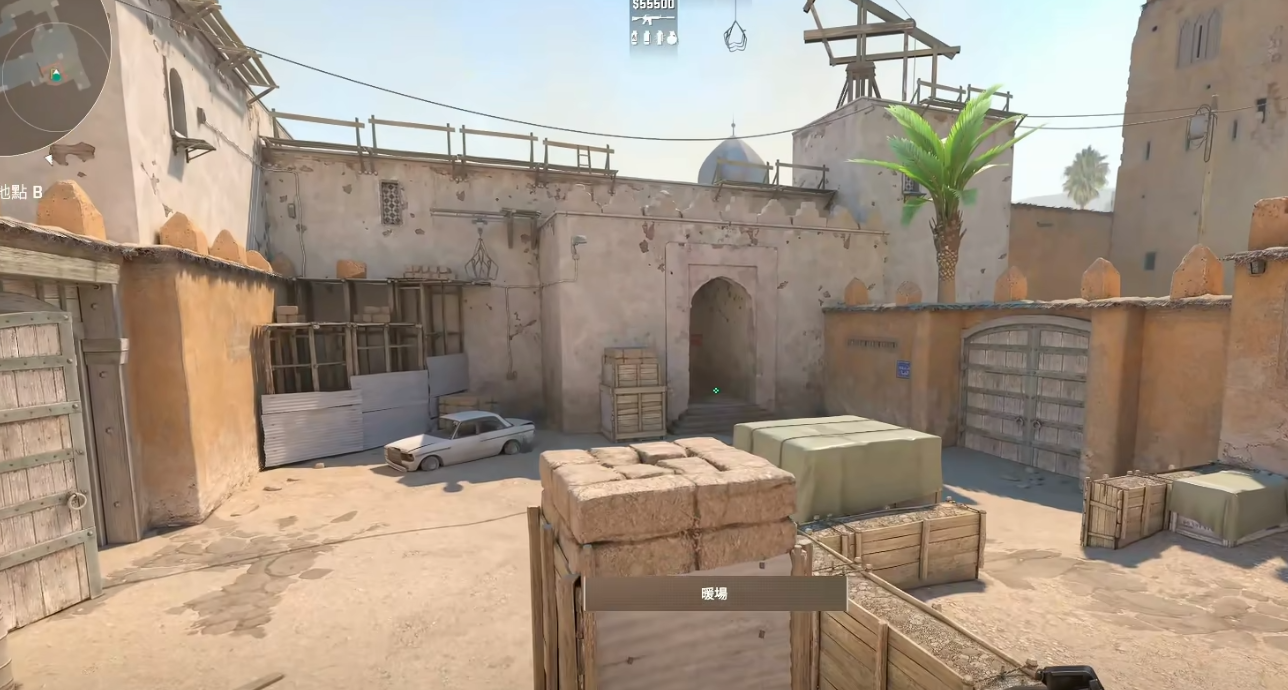
Player 1 (Positional Anchor) takes one of these hidden positions:
- White car (behind / to the left side)
- Car
- Fake door
- Wall hug at B site
These positions need an information player (the hook) to make them work. You can’t just hide and hope someone walks into your crosshair. Someone has to be drawing their attention.
Player 2 (The Hook) holds at big box:
- Peek with a smoke or flash.
- Call out enemy positions.
- DO NOT smoke B tunnels during a pincer. It won’t block anything — they’re already too close.
- Instead: smoke B doors to cut off the B door approach.
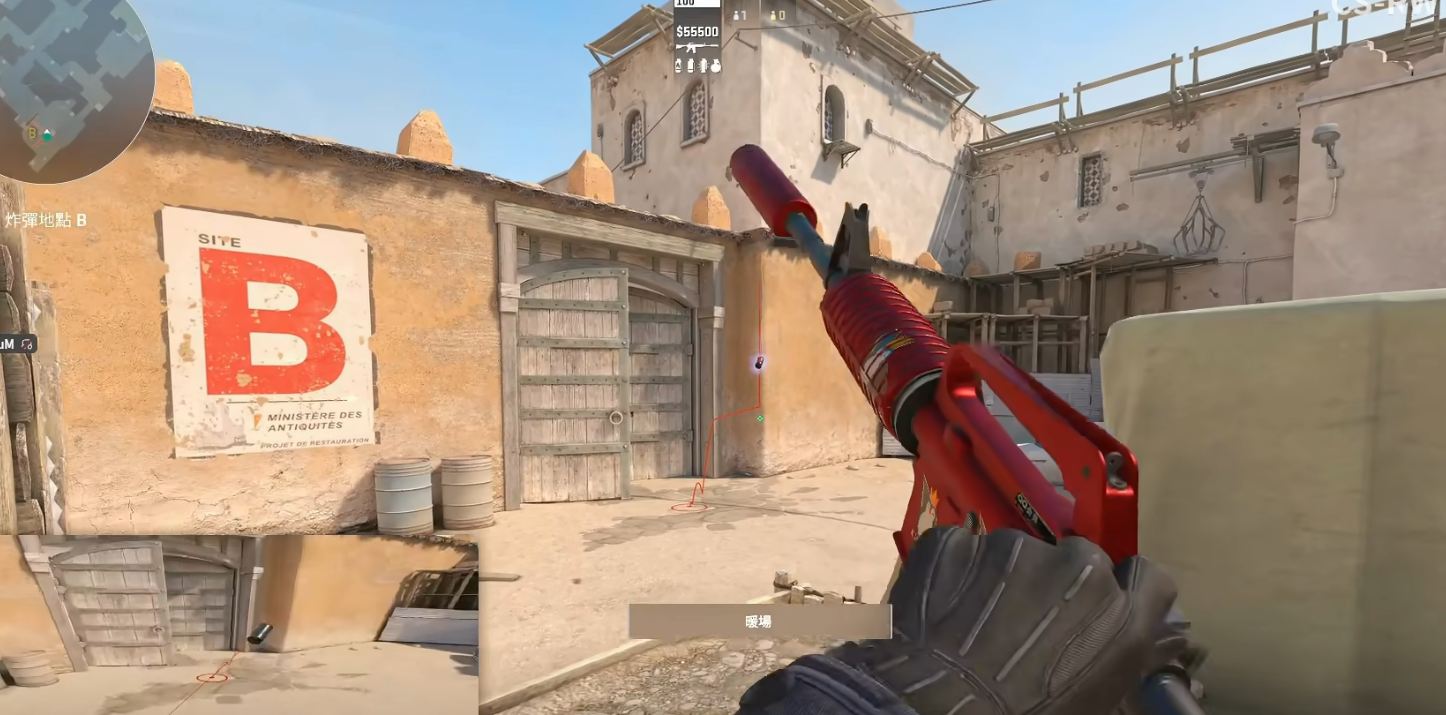
When the Pincer Develops
Scenario: Car player hears B tunnels + B doors push simultaneously
- Car player peeks to engage B tunnels.
- Big box player turns to intercept the B door / doghouse flankers.
- Big box player drops B door smoke.
- Both players focus on different entries.
Alternative aggressive read:
- Big box player smokes B doors.
- Both players push B tunnels together — one in front, one behind.
- Catch the single or double T player in tunnels before they can react.
- Clean up the isolated entry player.
The logic: a pincer means the Ts are thinly spread. If you read it early and commit together, you catch the isolated tunnel player before the rest of their team can support them.
Part 6: Dual Rifle Defense (Pro Teams’ Default)
The most common high-level B setup — favored by BC Gaming and Vitality:
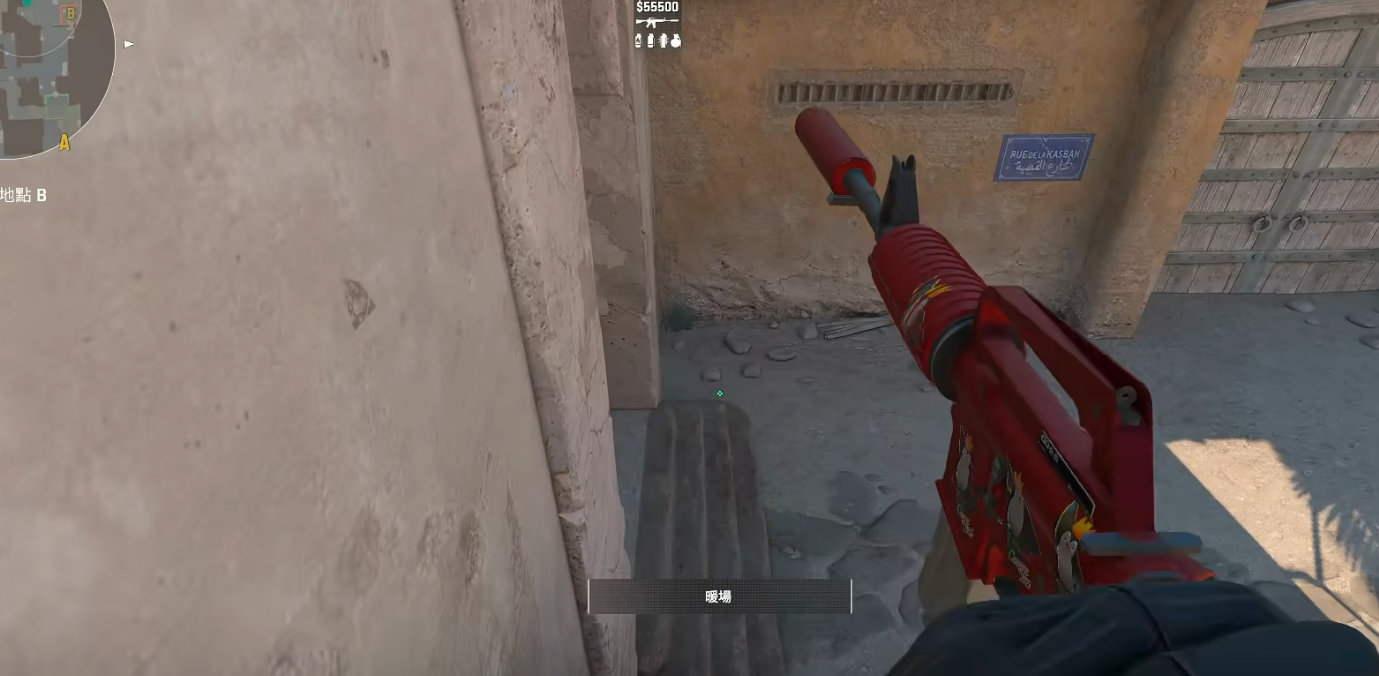
Player 1 (White Car / Scaffold):
- Sits on the scaffold or behind the white car.
- Crosshair aimed to cover B tunnels.
- Primary job: gather information, anti-rush, call out the numbers.
Player 2 (Big Box):
- Positioned at big box — peeking with a smoke in hand.
- Crosshair aimed toward fake door / B doors.
- When they spot someone: smoke the approach, then right-click flash.
- Step through the crack in the wall and engage.
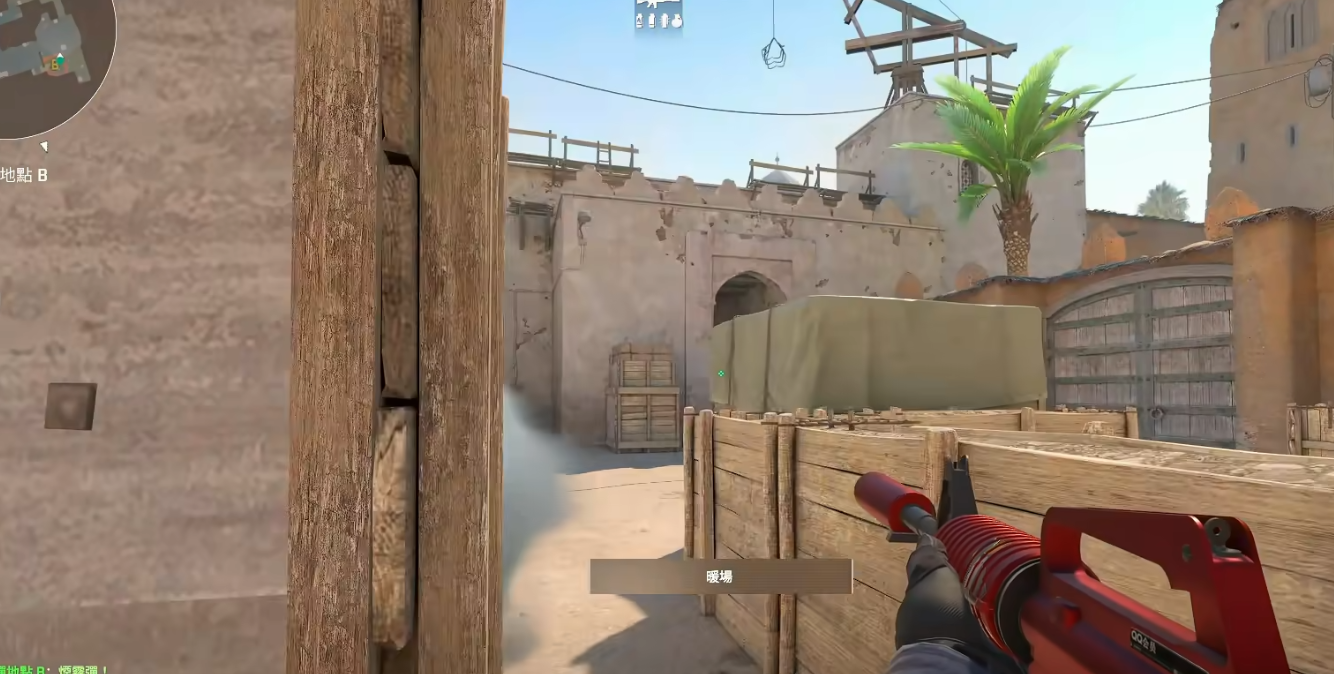
The synergy:
- Player 1 on scaffold throws utility support — flashes over Player 2’s head and into B tunnels.
- Player 2 at big box draws first contact and trades.
- When Player 2 peeks and takes fire, Player 1 drops off scaffold and takes the trade kill.
- Player 1 can also fall back and re-peek from a new angle for a different look.
This is a well-practiced two-man setup. Every player knows their exact role. No hesitation, no “who’s watching B doors?” moments.
Part 7: Secondary B / Rotator Role
Playing secondary B (starting mid or CT spawn, rotating to support B)? Here’s your playbook:
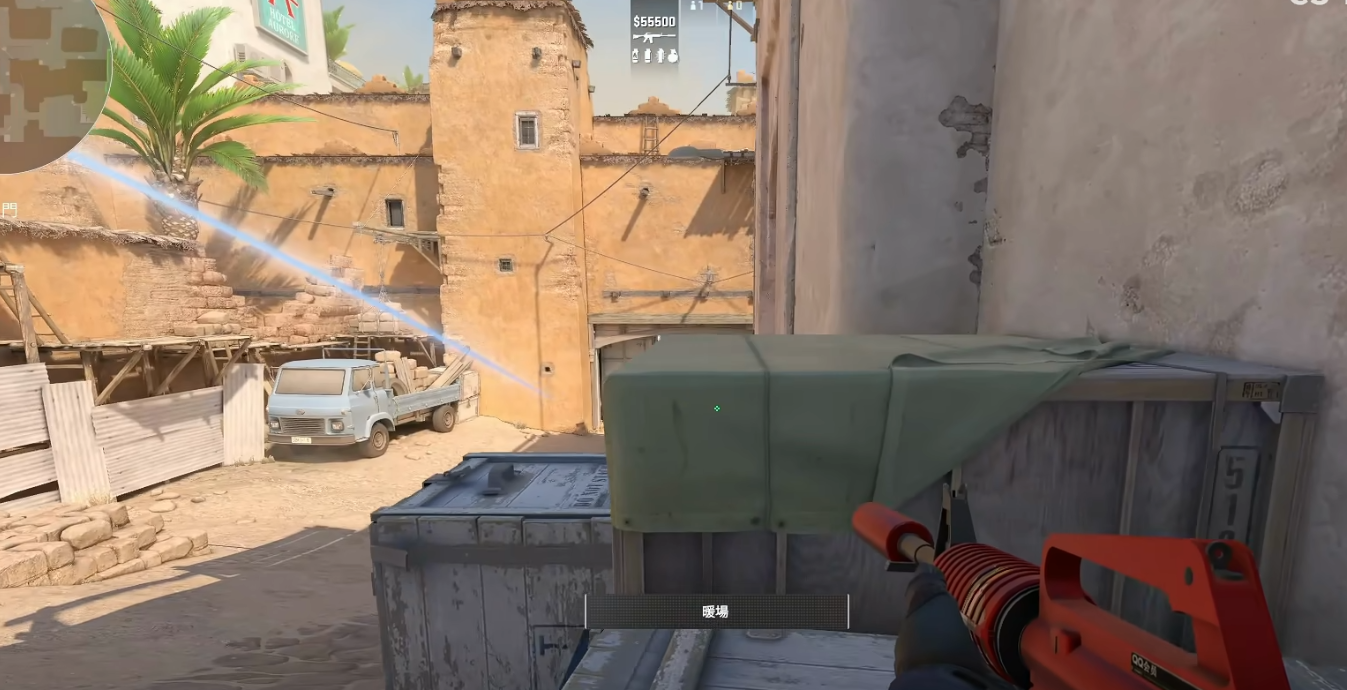
Key Principles
- Don’t use your grenade on spawn. Save it for mid-round.
- Give your grenade to the B anchor before the round starts.
- Your job mid-round is flash support, not holding angles.
Standard secondary B position: Scaffolding or B outer box.
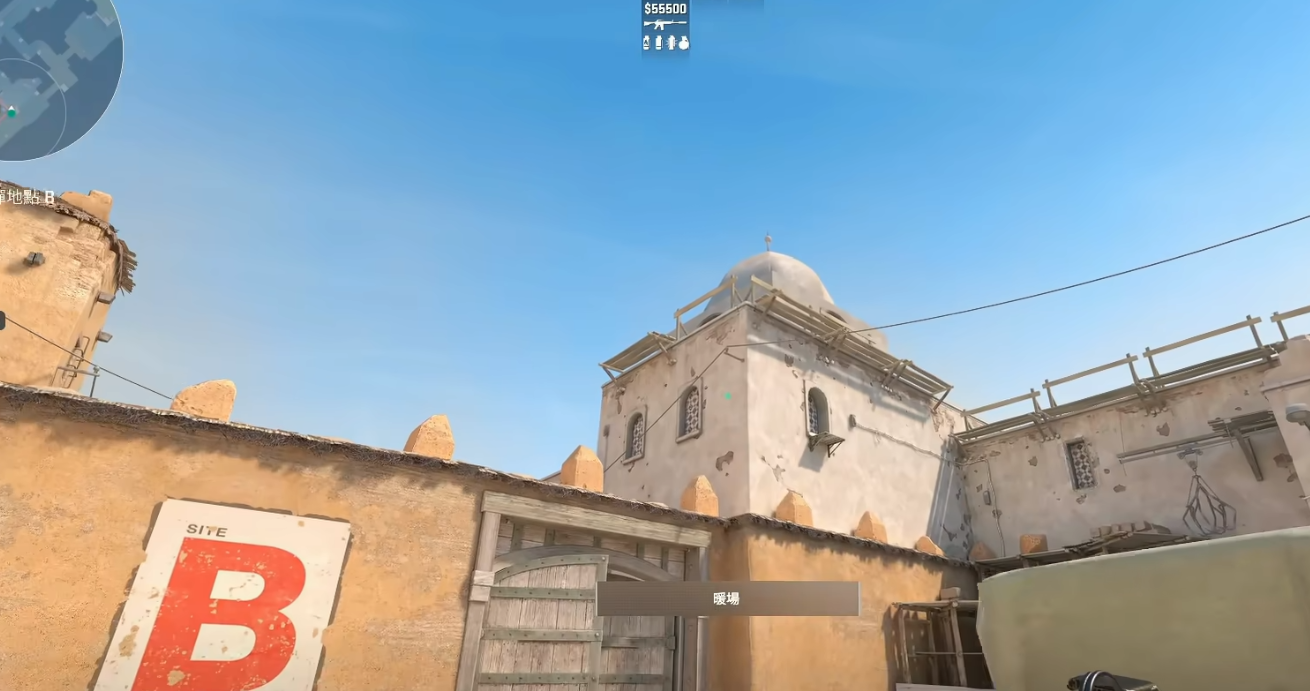
When B Gets Hit
- Throw flash over your teammate’s head into B tunnels.
- The flash doesn’t need to be perfect — just enough to give your teammate a gunfight advantage.
- They peek during the flash, you hold the trade angle.
- If they drop down, you hold their fallback angle.
Advanced Play: Scaffolding Position
- Peek from scaffold and spot the Ts.
- When the enemy drops pincer smokes: crouch and hold.
- Wait for your teammate to flash over you.
- Pop out during the flash and take a crossfire kill.
The enemy has to make a choice: look at the flash (and die to your teammate) or look away (and die to you). That’s the double-rifle advantage — mutual flash support, two smokes both used on B tunnels, absolutely no gaps in coverage.
Part 8: The ropz Smoke Routine for Solo B Site Hold
One specific move worth practicing: the ropz-style solo hold.
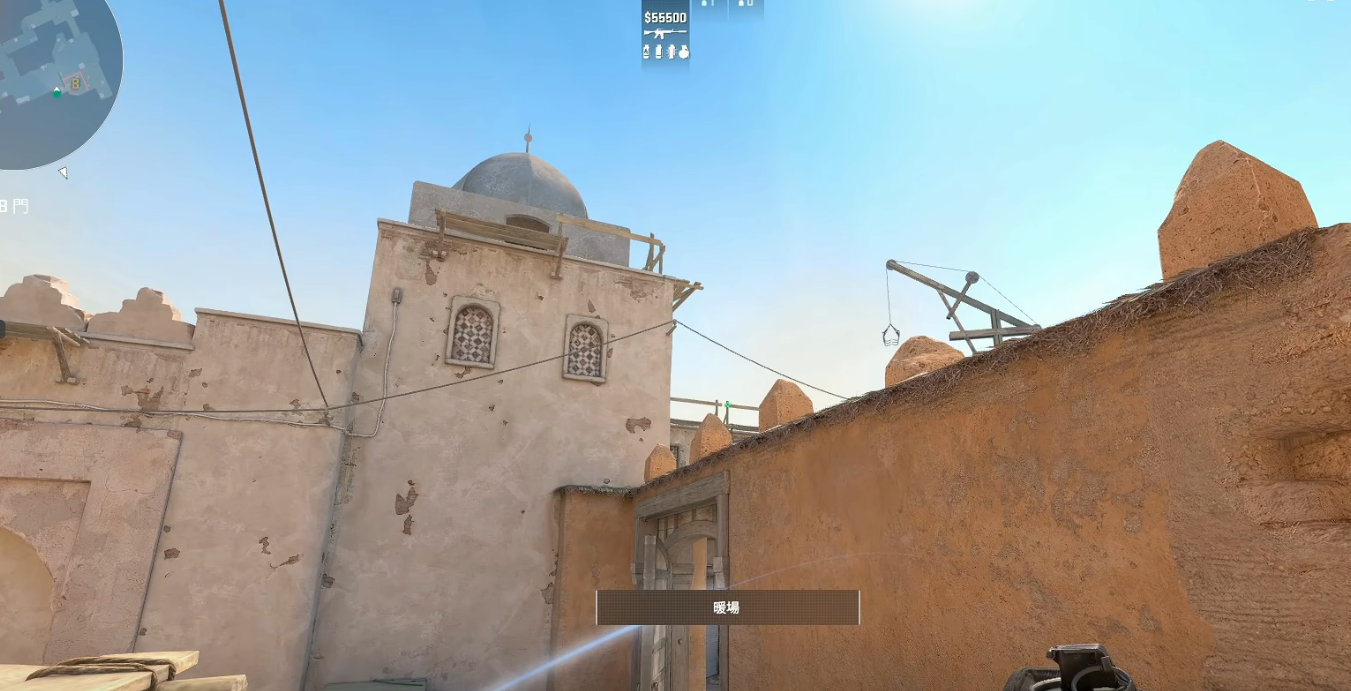
- Cross sand safely (nade cover if needed).
- Fire into B tunnels.
- Jump-throw smoke into the B tunnel entrance.
- Before the smoke pops, quick-peek the right side of B tunnels.
- Catch any T holding the cross for a free pick.
- Pop back into cover as the smoke lands.
This one sequence gives you: anti-rush protection, information, a potential free kill, and a smoked-off tunnel — all in the first 15 seconds of the round.
DO / DON’T Quick Reference
| # | DO | DON’T |
|---|---|---|
| 1 | Vary your sand crossing route and timing. | Run the same line at the same pace every round. |
| 2 | Enter B through doghouse for anti-rush. | Enter through B doors — too exposed to a rush. |
| 3 | Throw fire into B tunnels immediately. | Save your molotov for “later” — then it’s too late. |
| 4 | Smoke B tunnels when the enemy is defaulting. | Smoke B tunnels when they’re already rushing through. |
| 5 | Fall back and trade 1-for-1 if outnumbered. | Hold B to the death solo. Give up the site, take the trade. |
| 6 | Use smoke at your feet for peek cover. | Stand in the open and spray into the smoke. |
| 7 | Communicate who takes which entry in a pincer. | Both stare at the same angle while the other entry is free. |
| 8 | Secondary B: save nade for flash support. | Waste your grenade on spawn checking mid. |
Related Dust2 Guides
- CS2 Dust2 Timing Guide — Master spawn timings, rotation windows, and arrival order on every position.
- CS2 Dust2 T-Side Attack Strategy — Break the T-side stalemate with map control and execute setups.
Final Thought
Holding B on Dust2 isn’t about having the fastest reaction time in the server. It’s about solving three simple problems in order: survive the cross, stop the rush, and handle the split. The setups from this guide — the doghouse/B door duo, the ropz-style solo hold, the BC Gaming and Vitality dual rifle — have all been proven at the pro level.
Pick one setup from this guide. Practice it for three rounds in your next game. See how many Ts you send back to the buy round.
About the author: LX is a CS2 content creator and Faceit 10 player who has studied pro match demos and coaching materials to bring you actionable strategy guides. This guide is based on a breakdown by Dimsum, an ex-pro CS:GO player turned coach with 400+ students and 20+ pro trainees.
External reference: HLTV.org — official CS2 match results, stats, and pro player profiles. Watch how BC Gaming and Vitality execute these B site setups in real matches.