
I’ve lost count of how many Dust2 games I’ve thrown not because of bad aim, but because of the same silly mistakes round after round. After watching a comprehensive Chinese Dust2 guide covering 10+ common CT and T-side errors, I realized most of my losses came down to the same fixable CS2 Dust2 common mistakes.
This CS2 Dust2 common mistakes guide breaks down what players do wrong — what players do wrong, why it loses rounds, and exactly what to do instead. I’ve tested every fix myself. Some of them hurt to admit.
CT Side: CS2 Dust2 Common Mistakes
Mistake #1: Mid Defender Ignores A Long
The problem: When three teammates push A Long, the mid defender often just sits there. They don’t throw delay utility at T spawn ramp, and they don’t communicate whether A short has players pushing.
What happens: T’s throw a fast smoke on A short and rush up. Your A Long teammates are caught completely off guard trying to fall back. You hear “bro, A short ??” in voice chat and realize you have no excuse.
The fix: First thing — peek mid to check for double-scope AWPs. If clear, throw a molotov and grenade toward T ramp. This delays any A short rush and forces Ts to either wait out the fire or take damage.
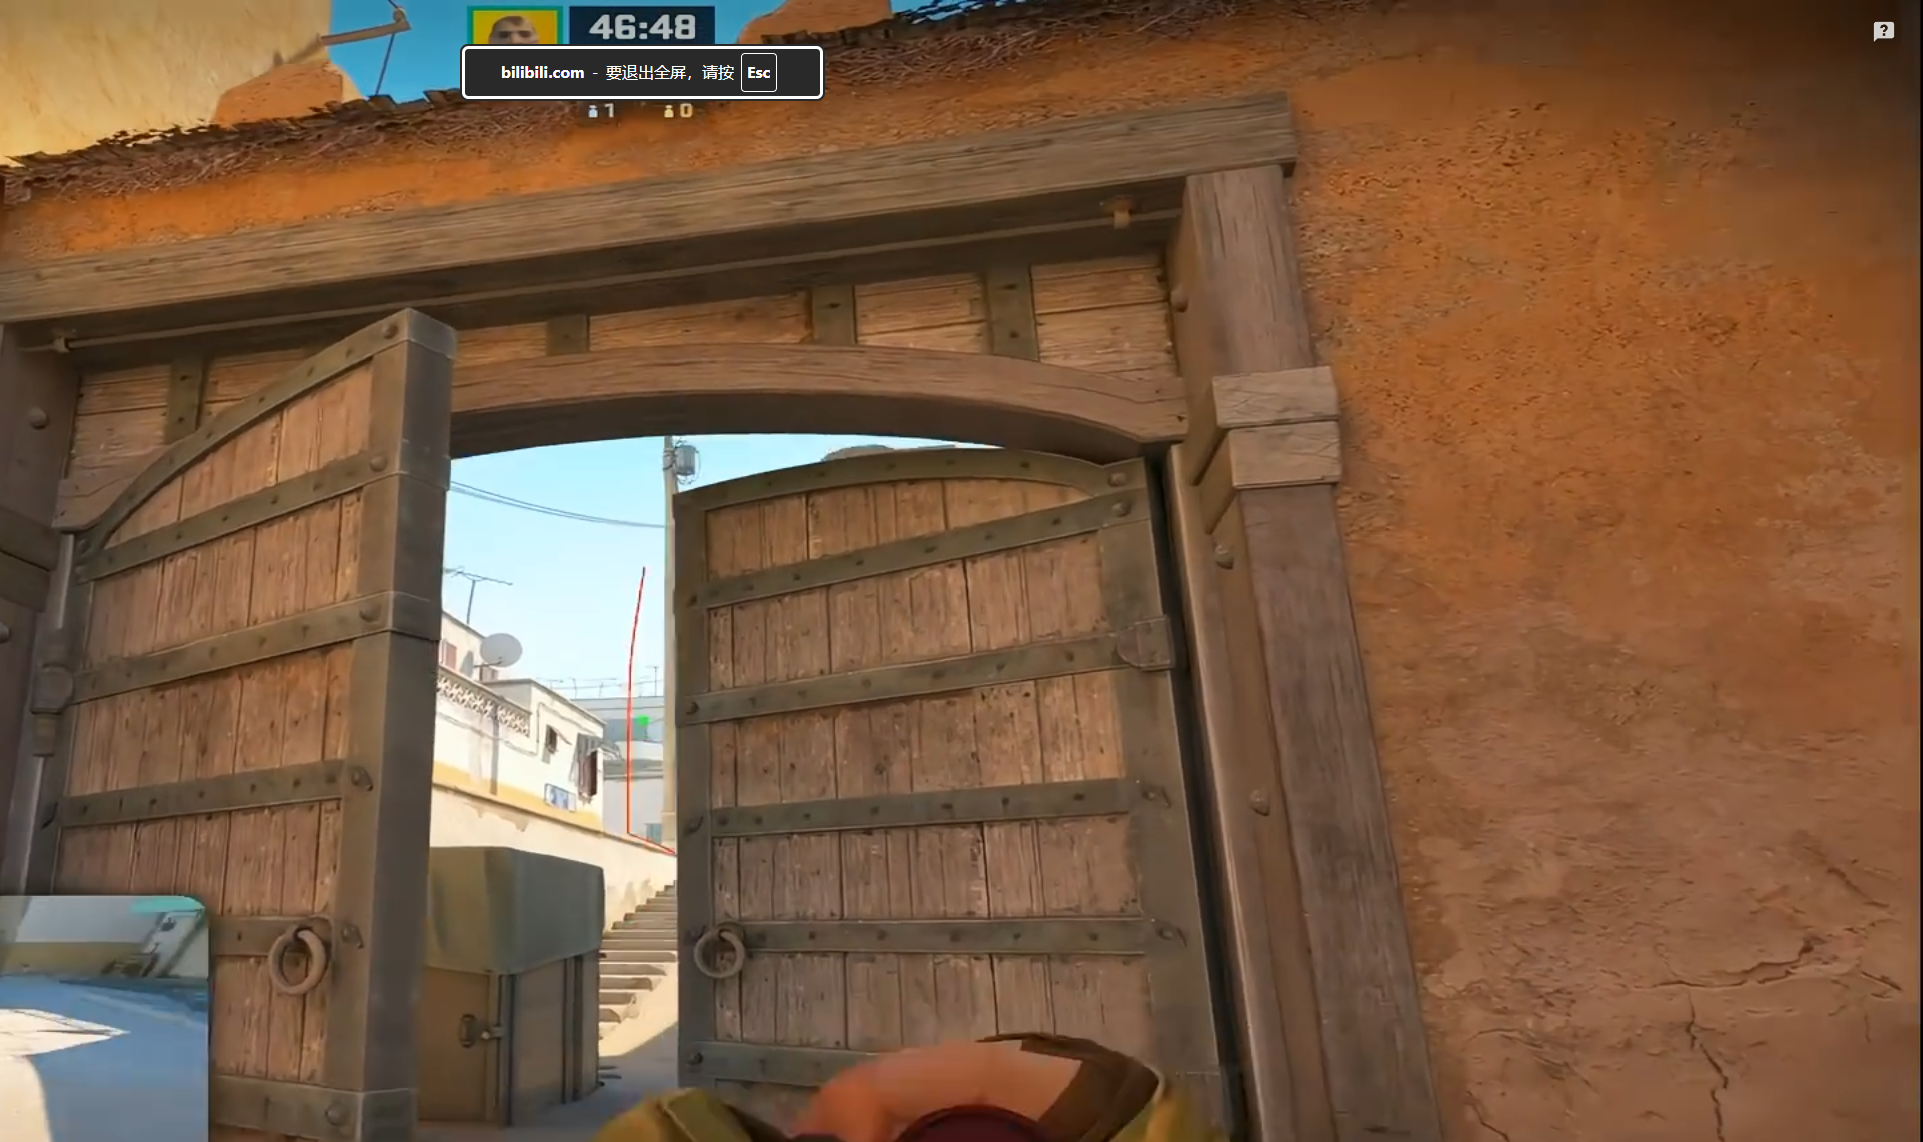
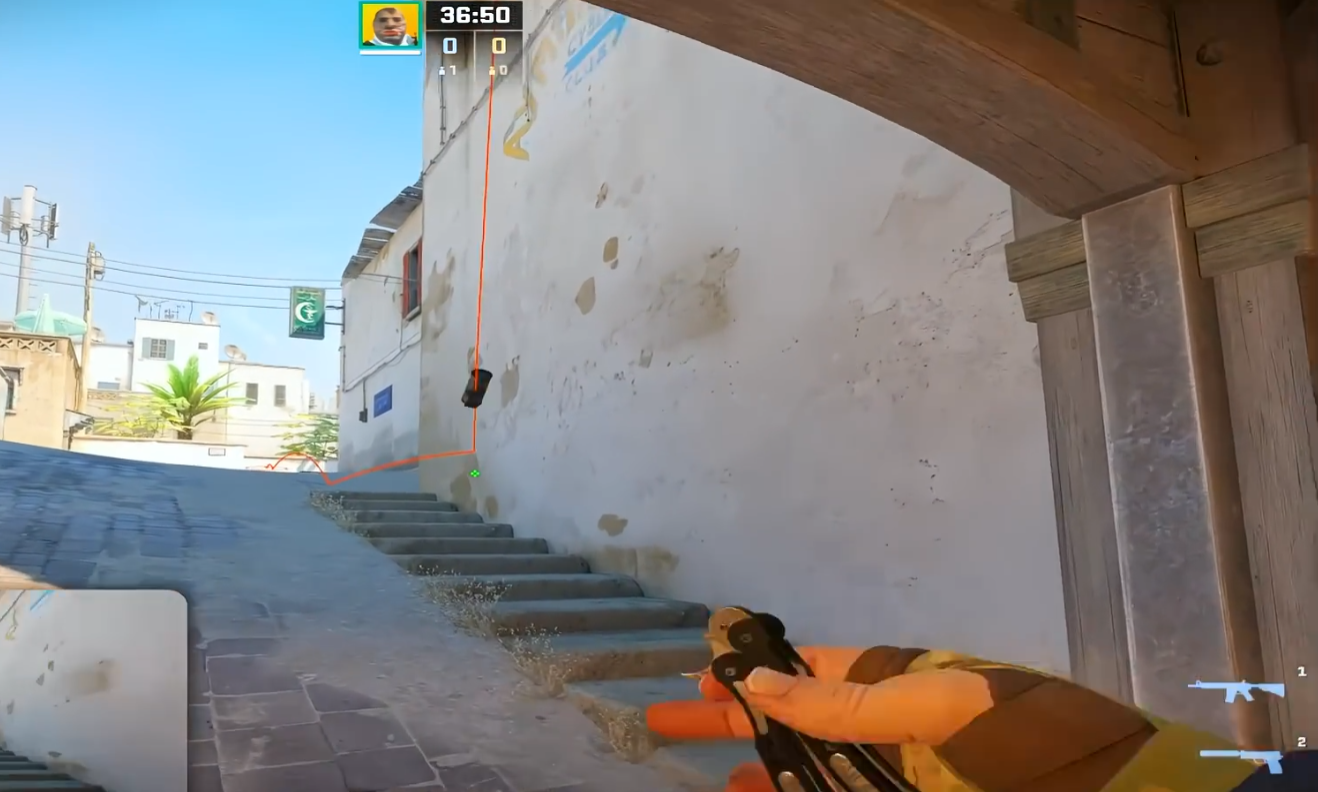
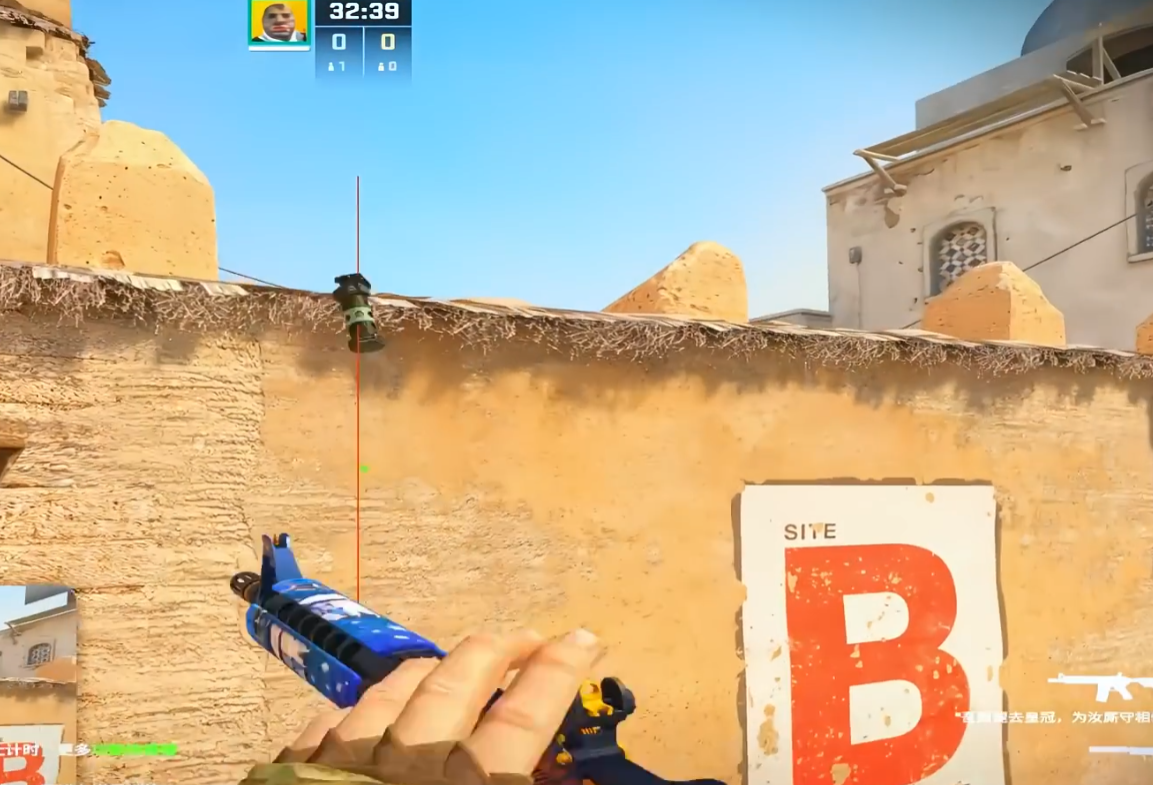
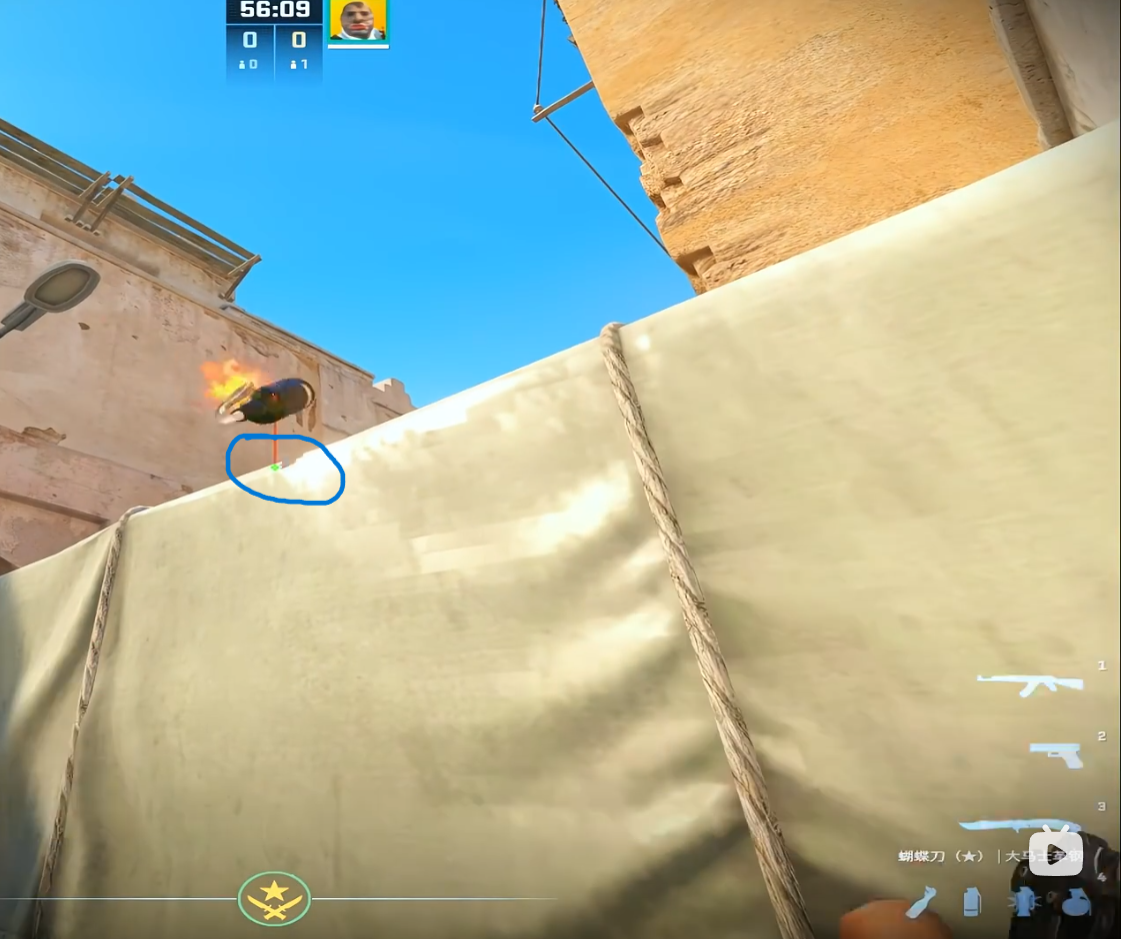
If T’s already threw a fast A short smoke, use the nail lineup: aim at first nail → second nail → third nail, jump-throw a molotov. Then peek the corner to listen for footsteps. Immediately relay that info to your A Long teammates.
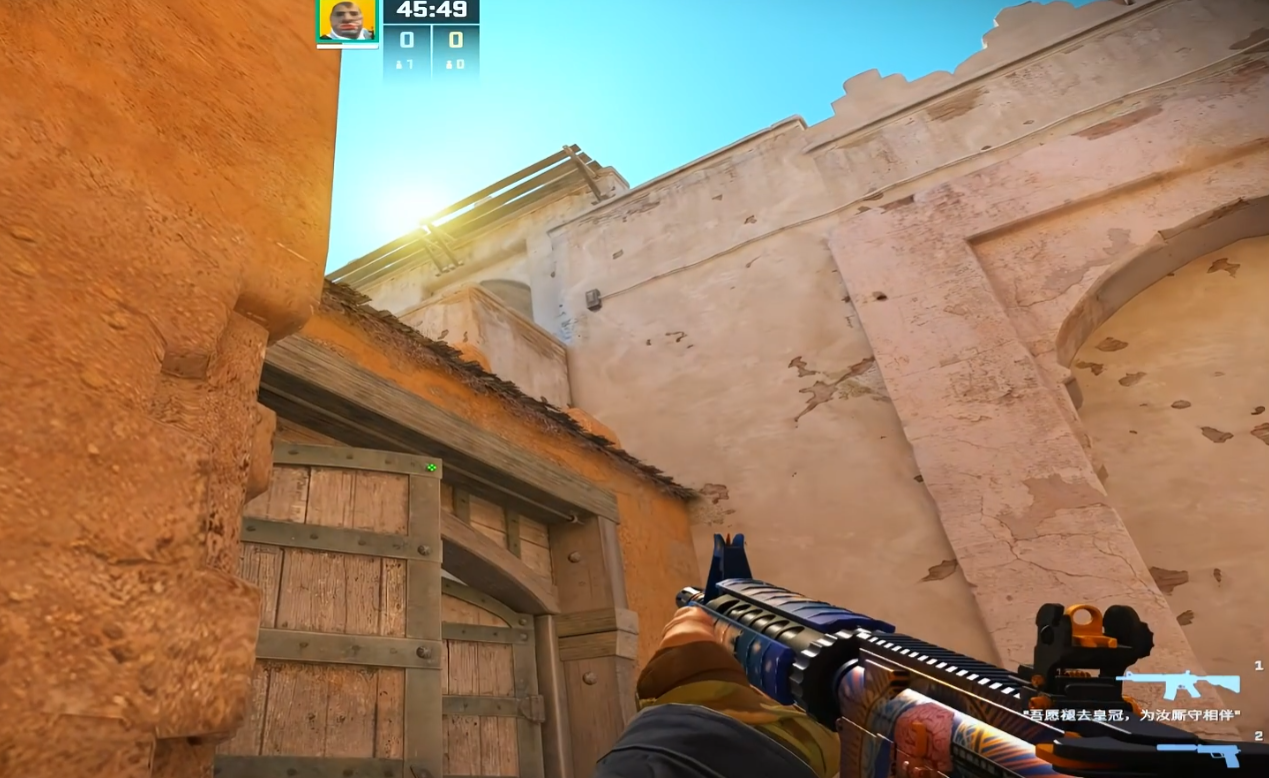
Mistake #2: Wrong Timing on A short Retake
The problem: You’ve communicated that A short has enemies, but your A short teammate still dies. Now you don’t know when to rotate or how to do it safely.
The fix — two scenarios:
- If your A ramp teammate is alive: Rotate immediately. Throw a smoke at the steps (any position, aim at the step edge, left-click smoke). Then peek through to help your teammate. A short is already pressured — you need to support now, not later.
- If your A ramp teammate died: Don’t rotate through CT spawn. You’ll face crossfire from A site, A short, and A Long. Instead, wait for second-time retake with your B player — clear mid together, then go A short or A Long together.
Mistake #3: Peeking Mid When You Shouldn’t
The problem: Your team has taken A Long and holds A site comfortably. But you can’t resist peeking mid — peeking from doors, from the corner, hiding behind the gate. You push for info you don’t need, get caught, and become the round-losing death that forces your whole team to rotate.
The fix: Once A Long is secure and A site is held, stop peeking mid. You don’t need the info. Instead, play at dog door or CT door — peek safely, call out what you see, and right-click flash if you want to take a fight.
Don’t let your mid position become the enemy’s entry point. If you die for free here, you’ve single-handedly undone your team’s good work.
Mistake #4: Blindly Pushing B1 Alone
The problem: You or your teammate mindlessly pushes B1 without any communication. No crossfire setup, no support from A short, no smoke from B2. You either die 1v1 or get pinched by mid and B2.
The fix: If you want to play B1, communicate first: “B2, can you throw a smoke and peek for crossfire?” or “A short, can you step up and help?” Two people working B1 together is much stronger than one person dry-peeking.
If it doesn’t work, fall back and give a brief hold. Don’t ego-peek B1 without support — you’re just feeding the enemy team a free kill and forcing your A site to rotate someone to B.
Mistake #5: Pushing A short Instead of Taking A Long Spawn
The problem: You have the best spawn for A Long, but you choose to rush A short instead. Your mid teammate can handle mid info — that’s their job. By pushing A short with the A Long spawn, you leave A Long uncontested and give Ts free control of the most important lane.
The fix: If you spawn near A Long, take A Long. Your mid teammate will handle mid calls. If you really want to play A short (e.g., you have an AWP and want a pick), communicate it: “I want to try A short first, can B1 help hold?”
Mistake #6: Holding A site/A short Too Rigidly
The problem: Standing in one box or two box positions and holding A short. T’s throw a molotov at your position, and now you’re forced to jump out — giving them a timing kill. Or they crouch-peek and one-tap you before you can react.
The fix: Hold from one box but use rhythmic ADAD movement — don’t stand still. Peek every 1-2 seconds, not faster. Remember: you can’t stop the first enemy from peeking. What you can do is punish the ones after that have no cover.
Use utility: throw a grenade to bleed them, flash to get a free peek, or if you’re confident, pre-fire the corner. Anything is better than standing still in a predictable position.
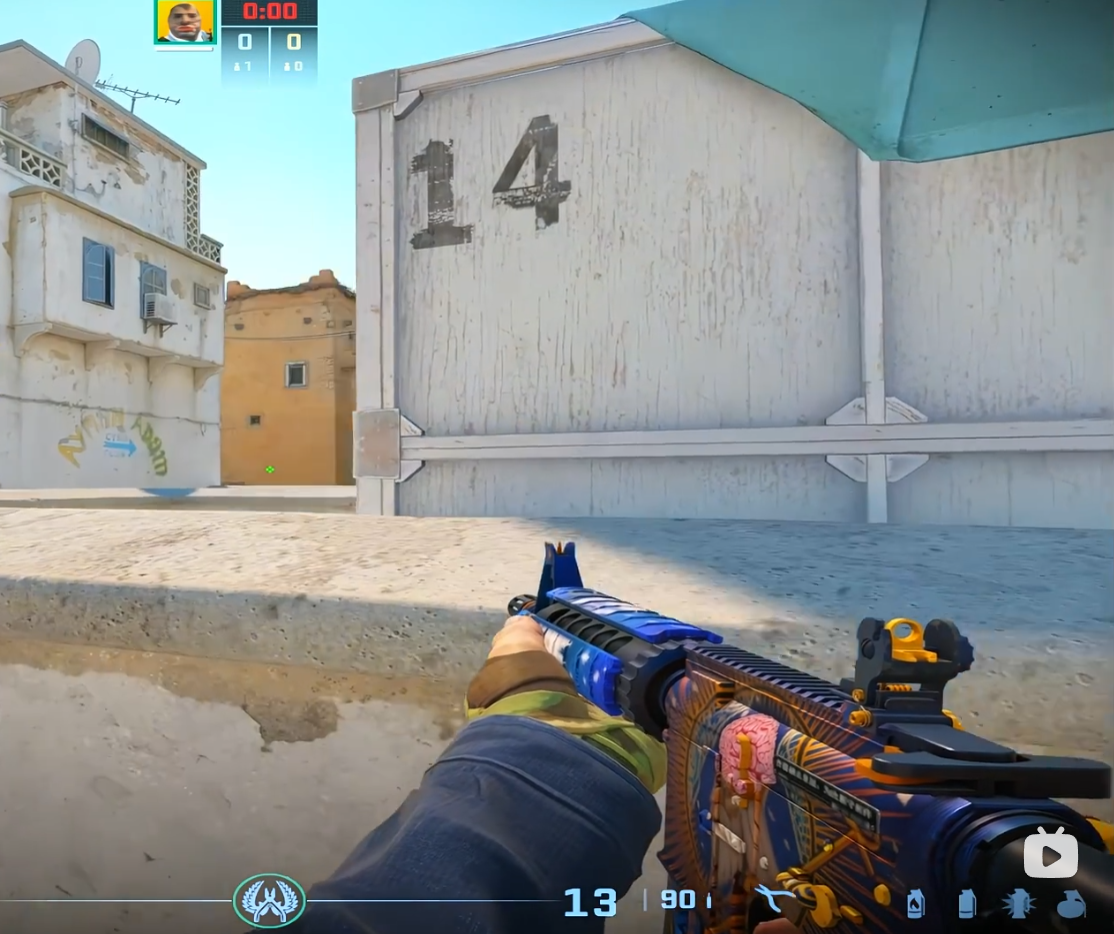
Mistake #7: Slow B-Site Rotations
The problem: A site loses control — A Long falls, A short dies — and you’re still sitting in B site waiting. By the time you rotate, the bomb is already down. This is one of the most common Dust2 CT mistakes.
The fix — two judgment calls:
- If A Long is pushing (3-4 enemies visible): Ask your teammates. If they say “3-4 A Long, one unknown,” start moving from B to mid as soon as the smoke fades. You likely won’t meet anyone — the unknown player is probably going back for the bomb. Clear mid with your teammate and retake A from A short.
- If a teammate died at A short early: Don’t rush. There’s probably a T holding B1. Ask your A site teammate: “How fast is A short pressure?” If they say heavy, do slow piece-by-piece clearing of B1 first, then retake from A Long or A short. Players in lower ranks often have someone holding B1 — clear it before you commit to a retake route.
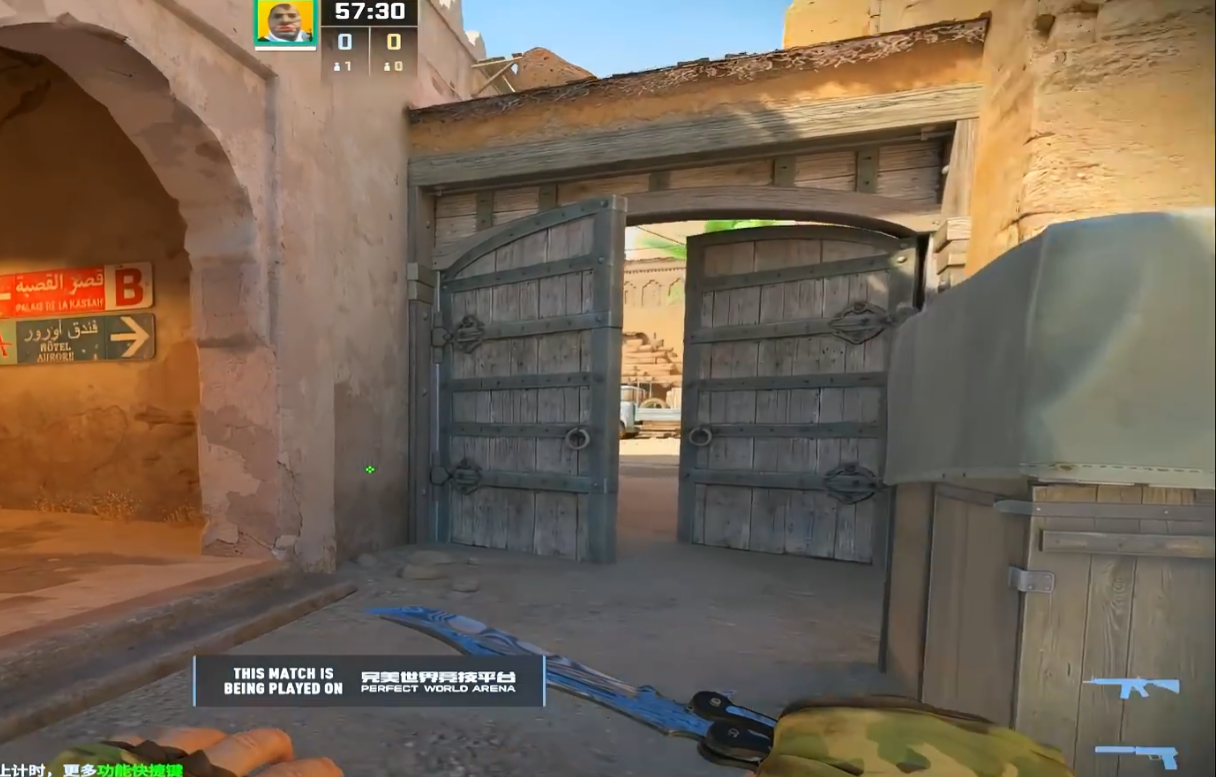
T Side: CS2 Dust2 Common Mistakes
Mistake #8: A Long Attack with No Utility Discipline
The problem: Your team burns all your flashes just getting out of A Long tunnel. By the time you reach A ramp, you have nothing left — only smokes and mollies. Meanwhile, CT’s throw a cross smoke and suddenly your push is dead in the water.
The fix: You only need 2-3 flashes to take A Long — not 5. Save the rest. When you hit the bench/blue car area, this is the correct approach:
- Throw blue car fire → use a grenade to clear behind the cross smoke → throw your cross smoke
- Now you’re at A ramp with utility still in your pocket
- Flash A site (A platform can’t hold the angle) → your team pushes up
- Use mollies and smokes to block A short before committing to the site execute
- Don’t send all 5 players. Keep one at blue car to watch for CTs pushing through your cross smoke
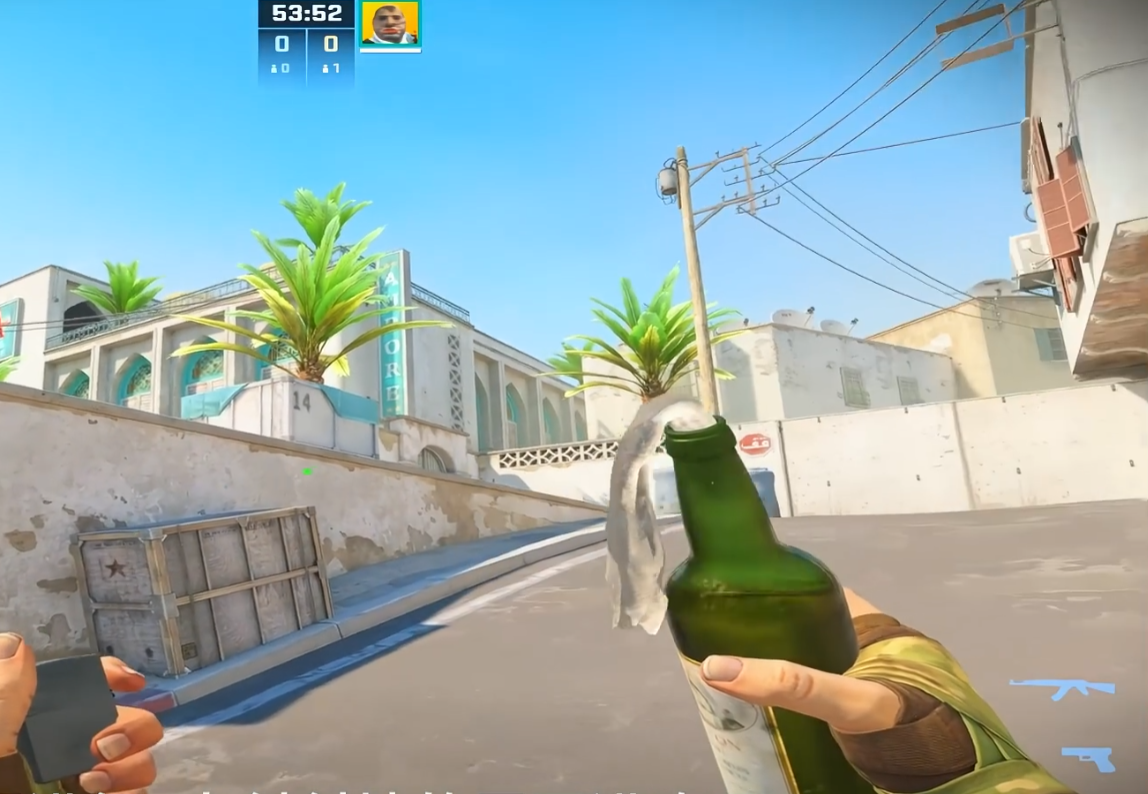
Mistake #9: Giving Mid Smoke Without Thinking
The problem: You throw a fast A short smoke on round start without checking if your teammates are going B1/B2. If they are, your smoke blocks their vision completely — they can’t peek, can’t trade, can’t gather info. They’re stuck waiting for the smoke to fade.
The fix: Before round start, ask: “Anyone going B1?” If yes, throw a full mid smoke instead of a fast A short smoke. Communicate one sentence before the round — it saves so much frustration.
Also, a poorly placed fast smoke can leave gaps big enough for a CT to stand in and shoot your teammates. A full mid smoke is safer when your team is spreading out.
Mistake #10: Not Using Utility During Map Control
The problem: You’ve heard it before: “Dust2 is a aim map, don’t rely on utility.” So you dry-peek every angle. You take 50/50 duels when a simple molotov would clear the position safely.
The reality: You’re the attacker. Any position that can be cleared with utility should be cleared with utility. Taking a 50/50 duel is bad odds. Here are two examples:
- Pushing mid doors: Before going through, throw a molotov at the close-right corner (behind the door). A CT holding there either burns or peeks into your crosshair. Then use your teammate’s flash to clear any remaining angles.
- Pushing A short: Don’t dry-peek. Throw a cross smoke, burn the two common positions with mollies, and clear the site with a teammate. Two mollies + one cross smoke = most of A site cleared safely.
Spending 20-30 minutes learning these lineups in an offline server will pay off for hundreds of matches. They don’t go away after one use.
Quick Reference: CS2 Dust2 Common Mistakes Summary
| # | Side | Mistake | Fix |
|---|---|---|---|
| 1 | CT | Mid ignores A Long | Throw delay utility + communicate A short info |
| 2 | CT | Wrong A short retake timing | Rotate fast if ramp alive; slow retake if dead |
| 3 | CT | Unnecessary mid peeks | Play dog door; don’t overextend |
| 4 | CT | Blind B1 push | Communicate, coordinate crossfire, or don’t push |
| 5 | CT | A short push with A Long spawn | Take A Long; leave mid info to the mid player |
| 6 | CT | Rigid A site hold | AD movement + utility; don’t stand still |
| 7 | CT | Slow B rotation | Read the round; rotate early or late based on info |
| 8 | T | Bad A Long utility management | Save flashes; use mollies to clear before committing |
| 9 | T | Wrong mid smoke | Ask teammates before throwing fast smoke |
| 10 | T | No utility during map control | Use fires/flashes to clear; don’t dry-peek 50/50s |
Final Thought
The hardest thing about Dust2 isn’t the aim duels. It’s fixing the habits you don’t realize are losing rounds. Most of these mistakes come down to one thing: playing without asking “why.”
Why am I pushing this angle? Why am I peeking mid right now? Why am I sitting in B when A is falling? Ask yourself these questions mid-round and your Dust2 win rate will climb faster than any aim trainer can deliver.
For more analysis, check HLTV Dust2 stats.
Related: CS2 Dust2 T-Side Strategy Guide · Crosshair Generator · Complete Settings Guide
Last updated: June 2026 — CrosshairForge.com