I remember my first month in CS2 vividly — not because of the highlights, but because of the settings. I jumped in, cranked everything to High because “better graphics = better game,” and spent the next 30 games wondering why my FPS was dropping during firefights. The answer, I eventually learned, was that every single default setting in CS2 is wrong for competitive play.
This guide is the result of hours of testing, tweaking, and sometimes reverting to defaults and starting over. I’ve organized it in the order you should go through them: video first (biggest impact on performance), then audio, game settings, keyboard/mouse, and finally external tweaks. Let’s get it right the first time.
1. Video Settings — Where Most People Get It Wrong
I spent my first two weeks on “High” preset because I wanted the game to look good. Then I watched a friend’s stream and realized his game looked completely different — smoother, clearer, and he could see enemies I couldn’t. The difference was his settings.
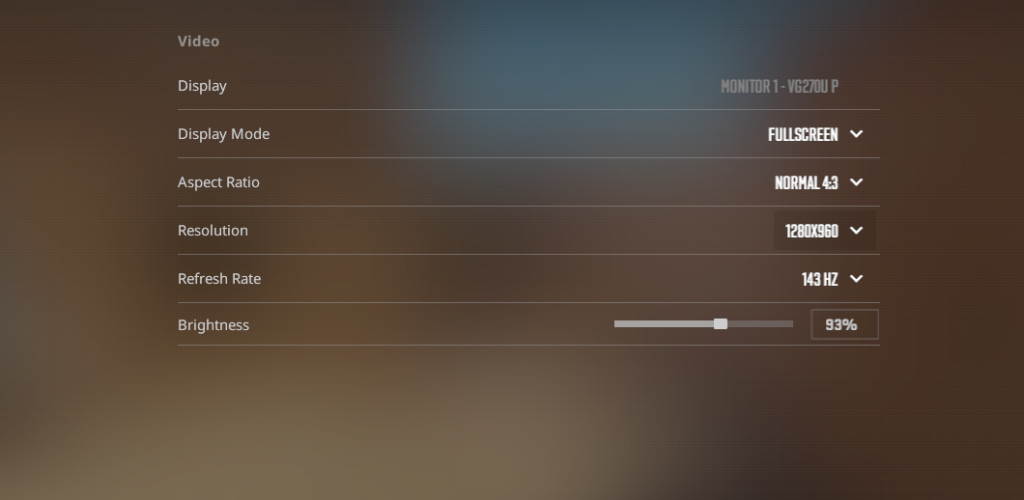
Display Mode: Fullscreen (Always)
This is non-negotiable. Windowed or Borderless adds input lag — not much, maybe 2-3ms, but in a game where a single peek decides a round, it matters. I tested all three modes on the same map and Fullscreen consistently gave me 15-20 more FPS.
Aspect Ratio: 4:3 vs 16:9
Here’s the truth that took me a while to accept: neither is objectively better. 4:3 stretches the image horizontally (making player models appear wider), while 16:9 gives you more peripheral vision. I switched from 16:9 to 4:3 after watching NiKo’s setup, and it took me about a week to adjust. Did it make me a better player? Not really. But it felt more comfortable, and that confidence matters.
My advice: try both on Deathmatch. Play 3 rounds each. Pick the one where you stop thinking about your aspect ratio and just play.
Resolution and Refresh Rate
If you’re below 144Hz, upgrading your monitor will improve your aim more than any sensitivity change. I made the jump from 60Hz to 144Hz and my first-tap accuracy went up noticeably within a week — not because I got better overnight, but because I could actually see what was happening during fast flicks.
For resolution: pick whatever looks comfortable but keeps your FPS stable above your refresh rate. I play at 1280×960 (4:3 stretched) and get 300+ FPS on most maps.
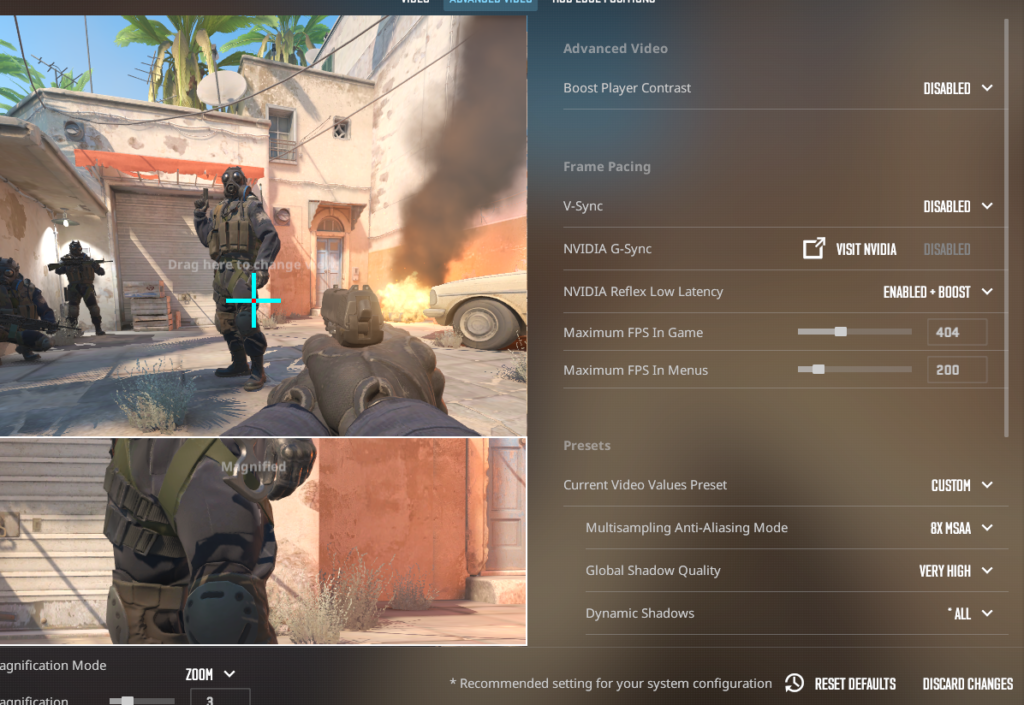
2. Advanced Video Options — The FPS Battlefield
These settings are where you trade visual quality for competitive advantage. I’ve tested each one individually to see what actually matters:
| Option | My Setting | Why |
|---|---|---|
| Boost Player Contrast | Disabled | I tried it on for a week and saw no visible difference. Costs 1-3% FPS for nothing. |
| G-Sync / V-Sync / Anti-Lag | Off / Off / On | V-Sync adds input lag. G-Sync is fine if you have it but I keep it off for consistency. |
| NVIDIA Reflex | On | If you have an NVIDIA card, this is free latency reduction. No reason to turn it off. |
| In-game FPS Cap | 400 | Well above my 144Hz monitor. Uncapped can cause stutter, so I cap it here. |
| Anti-Aliasing (MSAA) | 4X | 8X looks slightly cleaner but costs 15-20 FPS. I tested both on Inferno B site and decided the FPS was more important than the edges. |
| Texture Filtering | Bilinear | Match this with your NVIDIA Control Panel setting. Anisotropic 16x if you have GPU headroom. |
| Global Shadow | Low | High doesn’t show enemy shadows better — that’s a myth. I verified this on Mirage A ramp. |
| HDR / FX Super Res | Disabled | Pointless for competitive play. Adds visual noise and costs FPS. |
3. Audio Settings — Less Is More
I used to think I needed 3D audio and surround sound profiles to hear footsteps. After a year of testing different setups, here’s what I landed on: most audio settings are noise — only the bomb timer warning actually affects gameplay.
| Setting | My Value | Note |
|---|---|---|
| 10-second warning volume | 35 | Loud enough to hear over gunfire, quiet enough not to distract during clutch |
| MVP music | Off | First thing I turned off. Distracting and loud. |
| Mic threshold | Low | Let soft voices through — better than teammates repeating themselves |
| L/R channel independence | 25% | Helps directional audio without being disorienting |
| EQ preset | Crisp | I switch between Crisp and Natural. Crisp gives clearer footsteps but can be harsh after 2 hours. |
Headphone tip from experience: You don’t need expensive “gaming headsets.” I use a pair of monitor headphones in the $50-60 range (look for something with good directional audio) and they outperform any “7.1 surround” headset I’ve tried. Soundstage matters more than marketing specs.
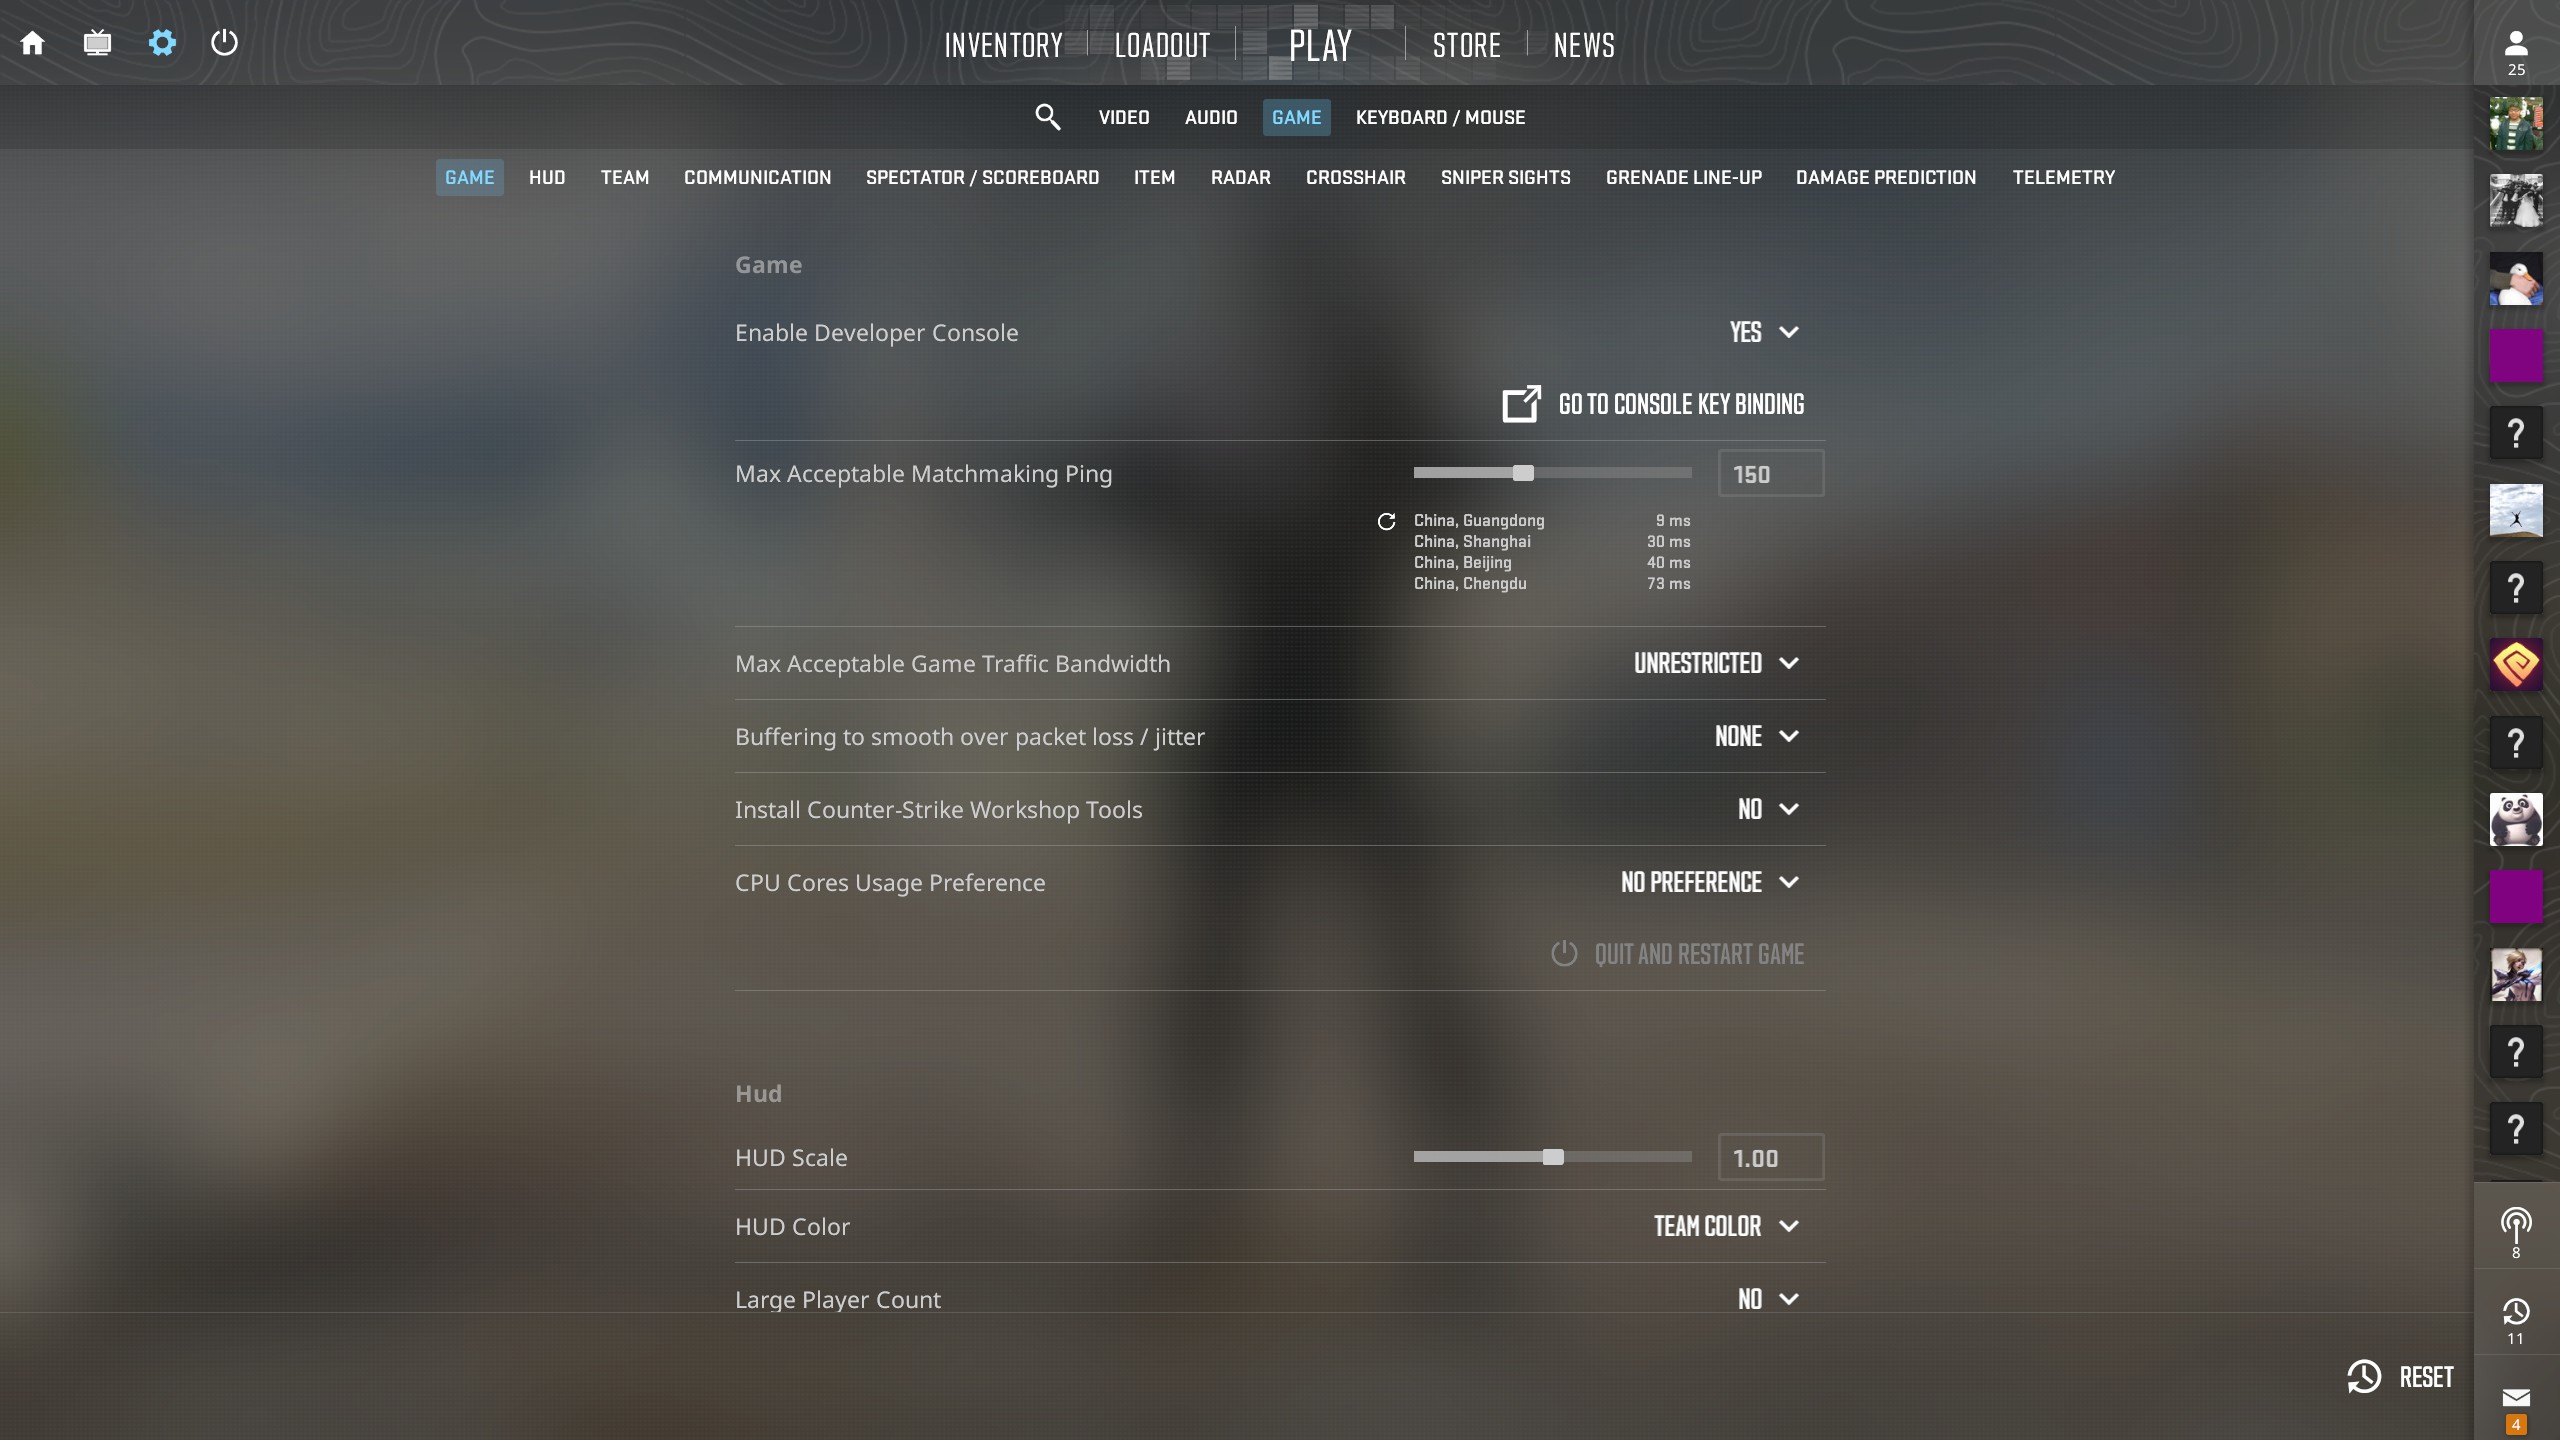
4. Game Settings — The Hidden Advantage
Radar (Minimap) — The Most Overlooked Setting
This one took me 6 months to get right. Your radar is basically wallhacks for map awareness — if it’s configured properly.
| Option | My Setting | Why |
|---|---|---|
| Keep player centered | Yes | Without this, the radar scrolls and you lose orientation |
| Rotate | Yes | Matches your screen direction — no brain work needed |
| Background transparency | Max | So it doesn’t block your view |
| HUD size | ~2/3 of max | Big enough to read, small enough not to obstruct |
| Map zoom | 0.33 | Good default. Bind zoom toggle to a mouse button for quick switches |
The radar zoom trick I discovered accidentally: Bind a key to toggle zoom. When you’re in smoke, zoom in — you can still navigate and plant. When you’re peeking a close angle, zoom out for more info. I use mouse button 4 for this and it’s become second nature.
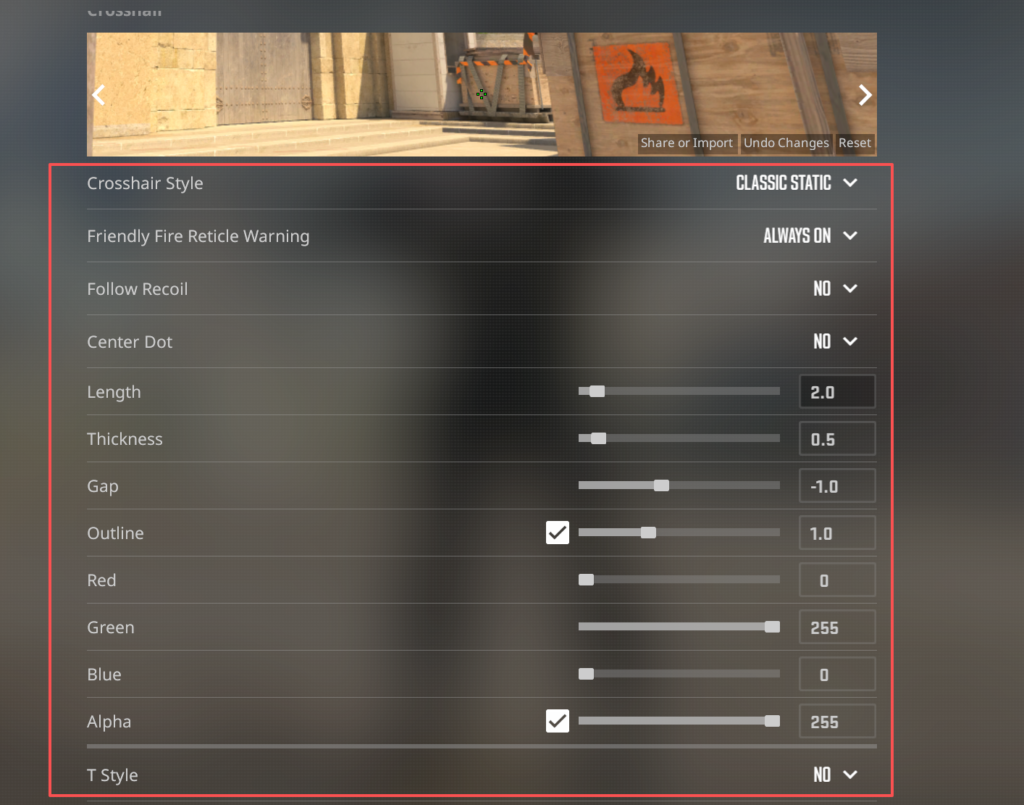
Crosshair Settings
I’ll keep this short because I wrote a full guide on crosshair settings here. The short version: Classic Static, follow-recoil OFF, outline ON. I spent a year on Dynamic crosshair thinking it helped track inaccuracy. It didn’t. It just added visual noise.
For throwables: check all 5 smoke crosshair boxes. This was a game-changer for practicing lineups — you can actually see where your smoke will land.
Other Game Settings I Changed Immediately
- Developer console: On (you need this for crosshair codes and practice commands)
- Max match ping: 70. Higher than that and peekers advantage gets noticeable
- HUD size: As small as possible without squinting. I keep it at 0.85
- Player markers: On (helps with callouts)
- Left/right hand view: Bind this to a mouse button. I switch depending on which side of the wall I’m peeking
5. Keyboard & Mouse — The Settings Nobody Talks About
Your mouse settings affect your aim more than any in-game slider. Here’s what I use and why:
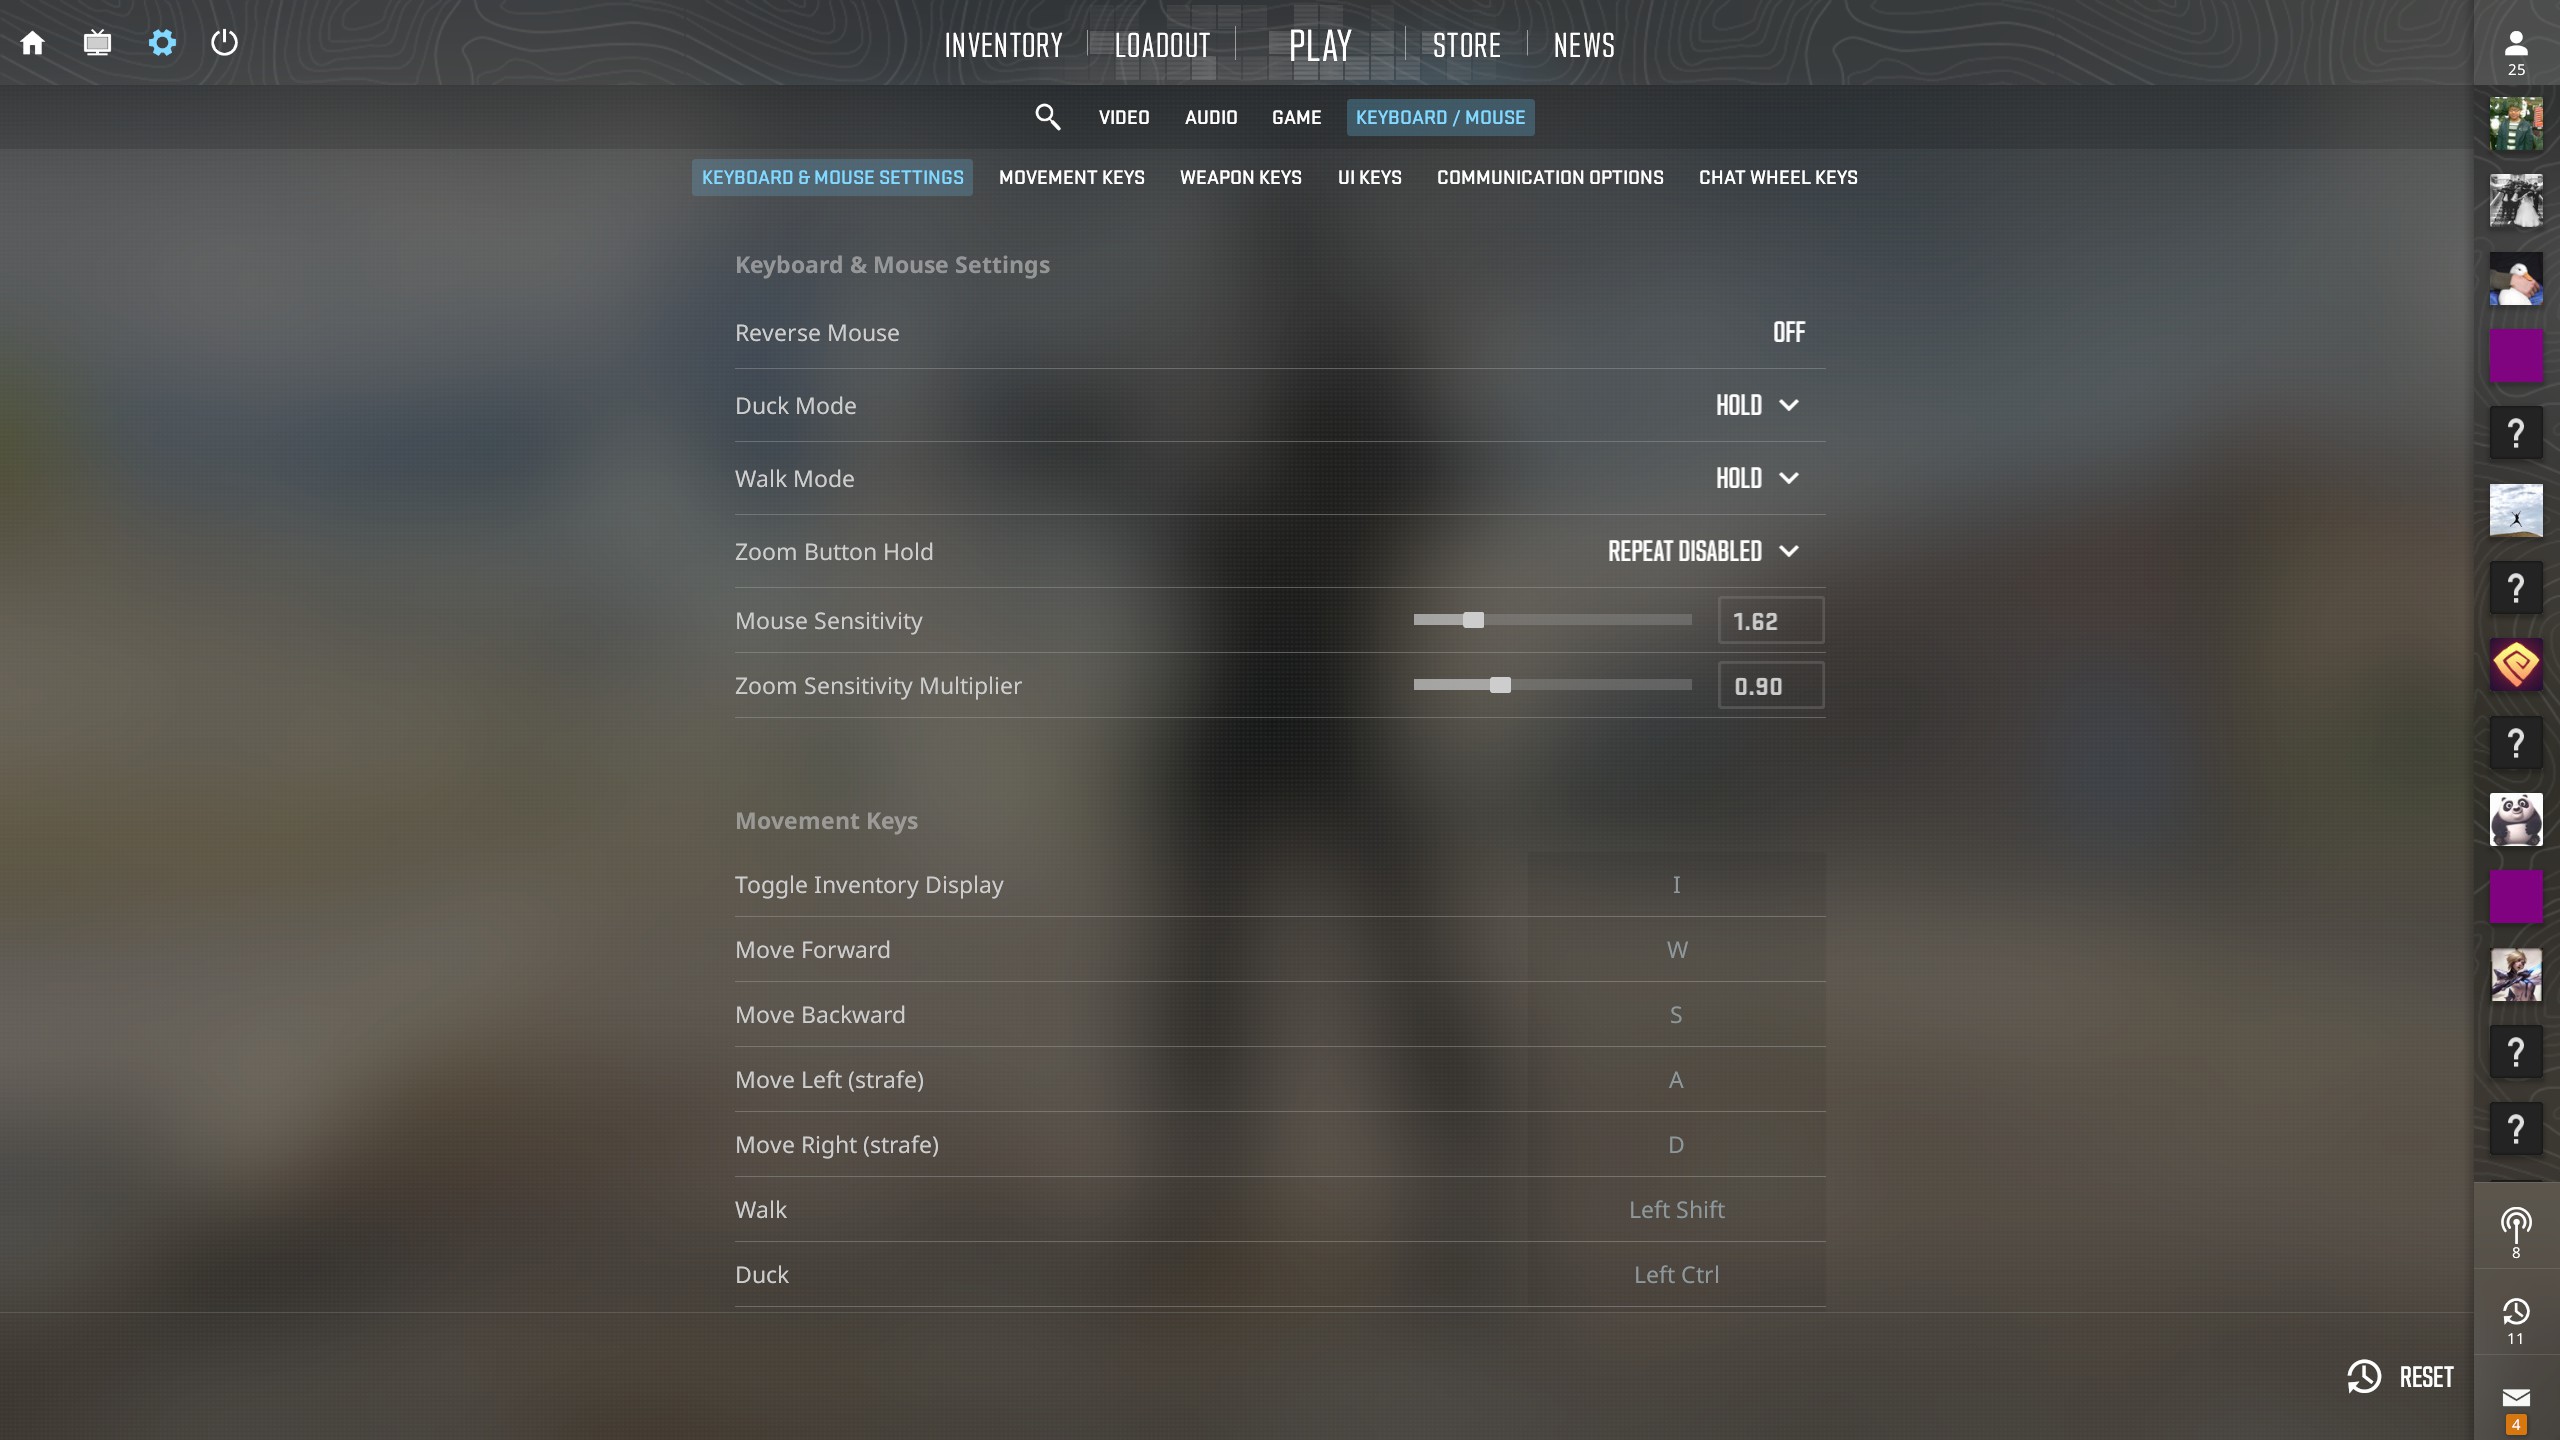
Sensitivity
I play at 400 DPI, 1.4 in-game sens (560 eDPI). This puts me in the middle of the pro range — low enough for precise sprays, high enough for 180 flicks. If you’re new to finding your sensitivity, I wrote a step-by-step guide here.
Key Bindings That Work for Me
| Action | My Key | |
|---|---|---|
| Smoke | C | Easy access from WASD |
| Molotov | X | Reachable without stretching |
| Flashbang | Q (scroll) | Quick cycle, then toss with left click |
| Voice Chat | V | Hard to hit accidentally |
| Radar Zoom | Mouse Button 4 | Thumb button, instant toggle |
| Left/Right Hand | Mouse Button 5 | Switch based on peek direction |
The Mouse Acceleration Trap
This is the single most impactful setting change you can make. Windows has a feature called “Enhance Pointer Precision” — it’s mouse acceleration. It changes your cursor speed based on how fast you move the mouse. Go to Control Panel → Mouse → Pointer Options and uncheck it right now.
I played for 2 years without realizing this was on. When I finally turned it off, my muscle memory had to rebuild from scratch. Don’t make the same mistake — check it before you play your next game.
6. External Settings — Windows, Steam, and Launch Options
These aren’t in the CS2 menu but they affect performance just as much:
Steam Settings
- Disable Steam Cloud sync — I noticed occasional stutter when it auto-synced mid-game. Small thing but worth doing.
- Strip down in-game overlay — Keep only what you actually use. The overlay costs a few FPS.
Launch Options
These go in Steam → CS2 → Properties → Launch Options. What I use:
-high -novid -tickrate 128 +cl_interp_ratio 1 +fps_max 0-high: Sets CS2 to High CPU priority-novid: Skips the intro video-tickrate 128: Ensures 128-tick server compatibility+fps_max 0: Uncaps FPS (I cap it in-game at 400 instead)
Windows / NVIDIA Tweaks
I won’t list every single Windows optimization here (they change with every update), but the essentials:
- Set Windows power plan to High Performance
- In NVIDIA Control Panel: set CS2 to use your dedicated GPU, prefer Maximum Performance power mode
- Disable Game Mode if it causes stutter (it did for me on one update, then didn’t on the next)
- Close Chrome before playing — it’s a memory hog and I’ve caught it eating 2GB while CS2 was running
7. Quick Reference — One-Page Summary
If you’re in a hurry, copy these verbatim:
- Video: Fullscreen | 4:3 (1280×960) | 144Hz+ | 4X MSAA | Bilinear | Global Shadow Low | NVIDIA Reflex On
- Audio: EQ Crisp | Bomb timer 35 | MVP music Off | L/R separation 25%
- Game: Developer console On | Classic Static crosshair | Smoke crosshair maxed | Radar zoom 0.33 | HUD 0.85
- Mouse: 400 DPI, 1.4 sens (560 eDPI) | Mouse acceleration OFF (check Windows settings)
- Binds: Smoke C | Molly X | Radar zoom MB4 | Hand switch MB5
- External: Steam Cloud Off | Launch options set | High Performance power plan
Still not sure? Copy a setup from one of these pro players and adjust from there:
- donk — Team Spirit (2024 HLTV #1) — Aggressive rifler settings
- NiKo — G2 Esports — All-round balanced setup
Final Thoughts
I’ve been through about 6 complete setting overhauls since I started playing CS2. Every time I thought “this is the final setup,” I’d find something new to tweak. The truth is: there’s no perfect setup, only the setup you stop thinking about.
My advice: copy these settings, play 10 matches, then change exactly one thing that bothers you. Rinse and repeat. After a month, you’ll have a setup that’s yours — and that matters more than any pro’s configuration.
If you want to see how specific pros configure their settings, check the pro crosshair comparison page — same data I used to build my own setup.
Last updated: June 2026 — CrosshairForge.com