
Learning how to change crosshair in CS2 was a game-changer for me. For the longest time, I played with the default CS2 crosshair. Not because I liked it — because I didn’t know I could change it. I’d be watching pro streams, see those crisp green crosses, and wonder how my aim would feel if mine looked like that.
Table of Contents
- Why Your Crosshair Actually Matters
- Method 1: Change Crosshair via In-Game Settings
- Method 2: Use Crosshair Codes
- Pro Crosshair Settings
- Method 3: Console Commands
- Common Crosshair Mistakes
- FAQ
- My Routine
- Final Thoughts
Table of Contents
Then one day after a particularly frustrating deathmatch session (I kept losing the dot in smoke), I finally opened the Settings menu. What I found was overwhelming — sliders for gap, thickness, outline, alpha. I spent the next 3 hours changing one parameter, dying, quitting, changing it back, dying again.
This guide is what I wish I had that day. Whether you’re brand new to CS2 or a returning player looking to dial in your setup, I’ll walk through everything: the in-game menu, crosshair codes (the easiest way to copy pro setups), and the console commands if you want precision control. No fluff, just what works.
Why Your Crosshair Actually Matters
Before you learn how to change crosshair in CS2, you should understand why it matters so much for your aim.
If you want to know how to change crosshair in CS2, the first question should be: what kind of player are you? Check our pro crosshair comparison guide to see what the best players use before you start tweaking.
I used to think crosshair was just cosmetic — like a skin. Then I switched from a large, green dynamic crosshair to a small, static cyan one, and my first-tap accuracy improved noticeably within a week — that is how to change crosshair in CS2 the right way.
Here’s the breakdown of what each parameter actually does to your gameplay:
| Factor | What It Does | My Recommendation |
|---|---|---|
| Size | Too large blocks vision at long range; too small gets lost in fights | Start at 2.5, adjust based on your typical engagement distance |
| Thickness | Affects visibility against different map backgrounds | 0.5 is the sweet spot — visible but not obstructive |
| Color | Must contrast with map environments | Green or cyan — I switch to pink on Mirage |
| Gap | Controls how precisely you gauge spray patterns | -2.0 to 1.0. Negative gap = tighter aim |
| Dynamic vs Static | Dynamic expands when moving; static stays fixed | Static. Always static. See below. |
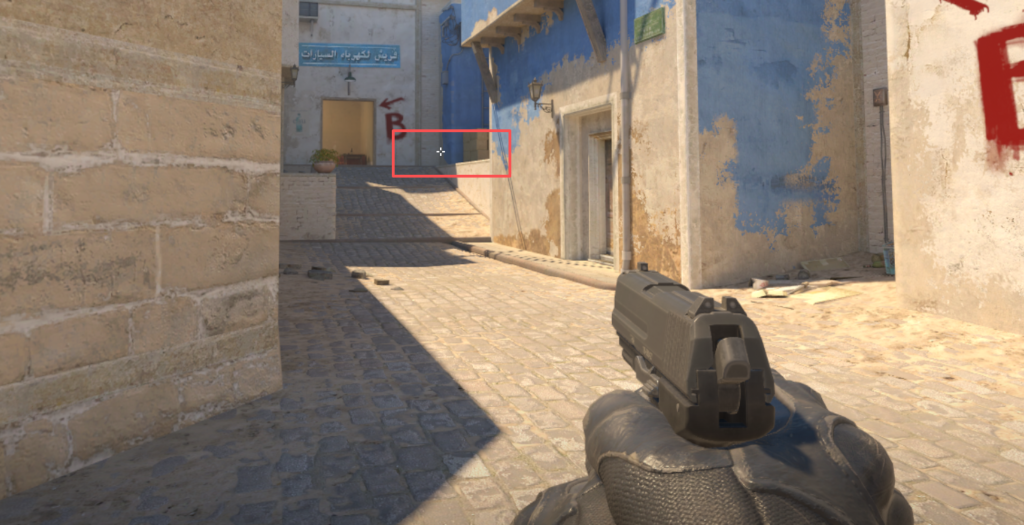
One more thing I learned the hard way: over 85% of professional CS2 players use a static, small, green or cyan crosshair. That’s not a coincidence — it’s the most visibility-efficient setup for competitive play. I used Dynamic for a year thinking it helped me track inaccuracy. It didn’t. It just added visual noise.
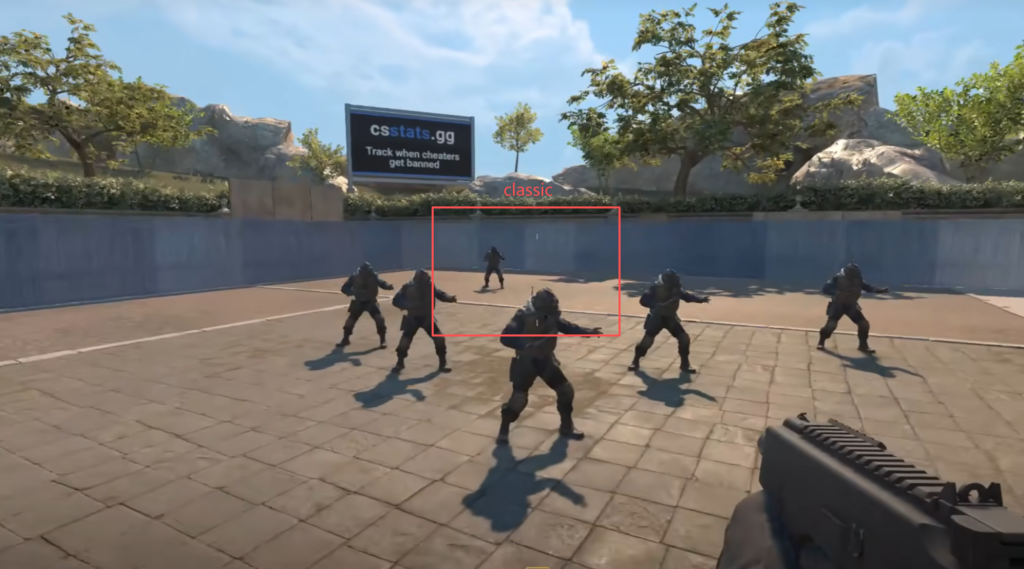
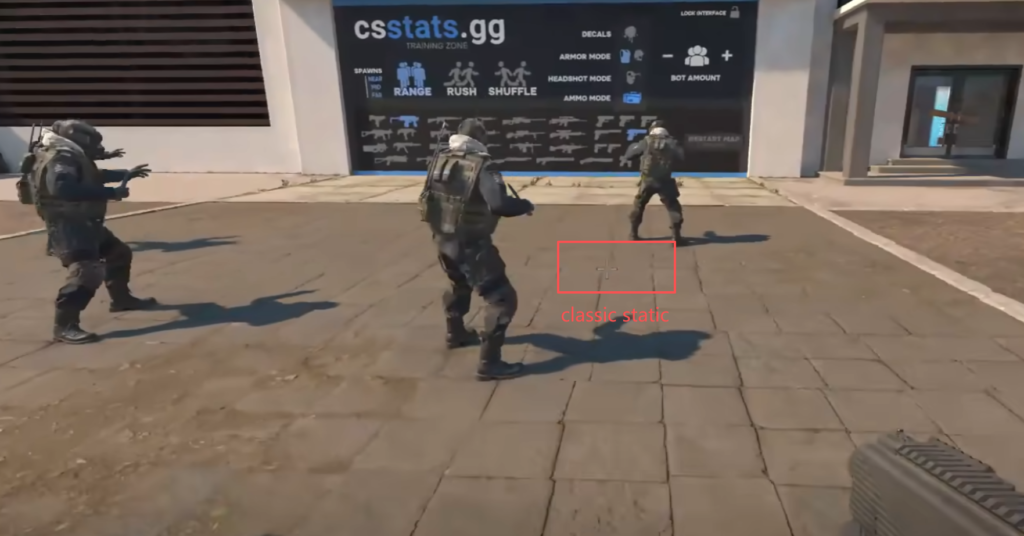
[Same position, dynamic (left) vs static (right) crosshair. You can see how dynamic expands and creates visual clutter.]
Method 1: How to Change Crosshair in CS2 via In-Game Settings
This is the most straightforward method, and honestly, it’s where I recommend everyone start before diving into codes or console commands.
Step 1: Open Settings
Launch CS2 and click the gear icon in the main menu.
Step 2: Navigate to the Crosshair Tab
Once in Settings, you’ll see a row of tabs at the top. Click “Crosshair”.
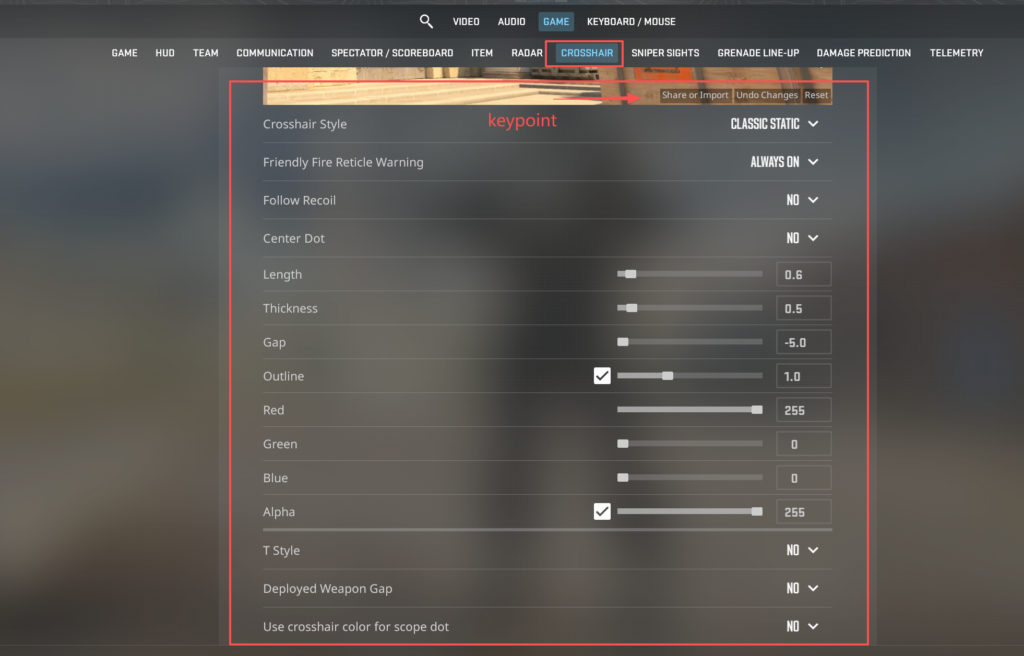
Step 3: Adjust Each Parameter
Here’s the full parameter list with my personal recommended starting values and why. I’ve tested every single one of these — some took weeks to settle on:
| Parameter | What It Does | My Starting Value | Notes |
|---|---|---|---|
| Style | Crosshair shape | Classic Static | Don’t use anything else. Dynamic adds noise. |
| Follow Recoil | Crosshair moves with spray | Off | It looks cool but throws off your muscle memory |
| Length | How long the lines are | 2.0 | Longer = easier to see in chaos, harder to aim precisely |
| Thickness | Line width | 0.5 | Thicker = harder to pixel-peek |
| Gap | Space between lines and center | -1.0 | Negative gap = tighter = better for precise aim. Try donk’s -4.5 if you’re feeling brave |
| Dot | Center dot | Off | Most players skip it. I find it distracting. |
| Outline | Dark border | On | This saved me on bright maps like Mirage |
| Alpha | Transparency | 255 | Anything less and you lose it in smoke or bright areas |
| Color | Crosshair color | Green or Cyan | I swap to pink when playing Inferno (green blends with grass) |
My pro tip: Jump into Deathmatch after changing each setting. I usually spend 15-20 minutes per change — it takes that long for the new crosshair to feel natural. If you swap 5 things at once, you won’t know which change helped.
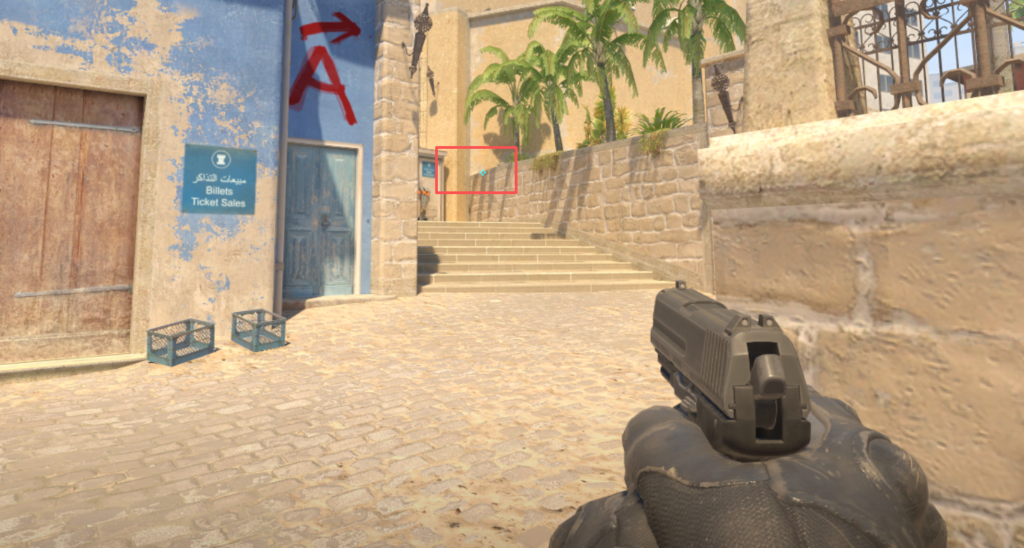
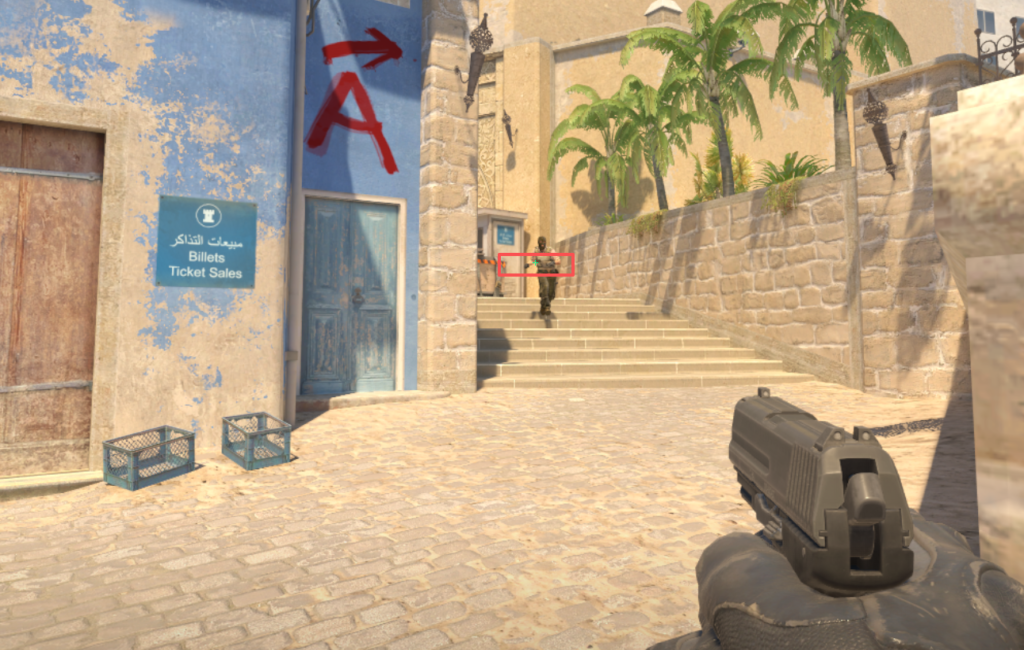
Method 2: How to Change Crosshair in CS2 Using Codes (The Easiest Way)
Crosshair codes are the best thing Valve added to CS2. It’s a simple text string that encodes your entire configuration. I use these constantly — whenever I find a pro setup I want to try, it takes 10 seconds to import.
To export your current crosshair:
- Go to Settings → Crosshair
- Click “Share or Import”
- Click “Copy Crosshair Code”
- Paste it anywhere — Discord, chat, or save it in a text file
A typical code looks like this: CSGO-oQ3n7-3bFzR-8wK2P-xL9mJ-vBt5A
To import a pro’s crosshair code:
- Go to Settings → Crosshair
- Click “Share or Import”
- Paste the code into the text box
- Click “Import”
- Your crosshair is applied instantly — no restart, no console
I use our CrosshairForge Generator to test new setups before importing them. It saves me the time of launching the game just to see what a code looks like.
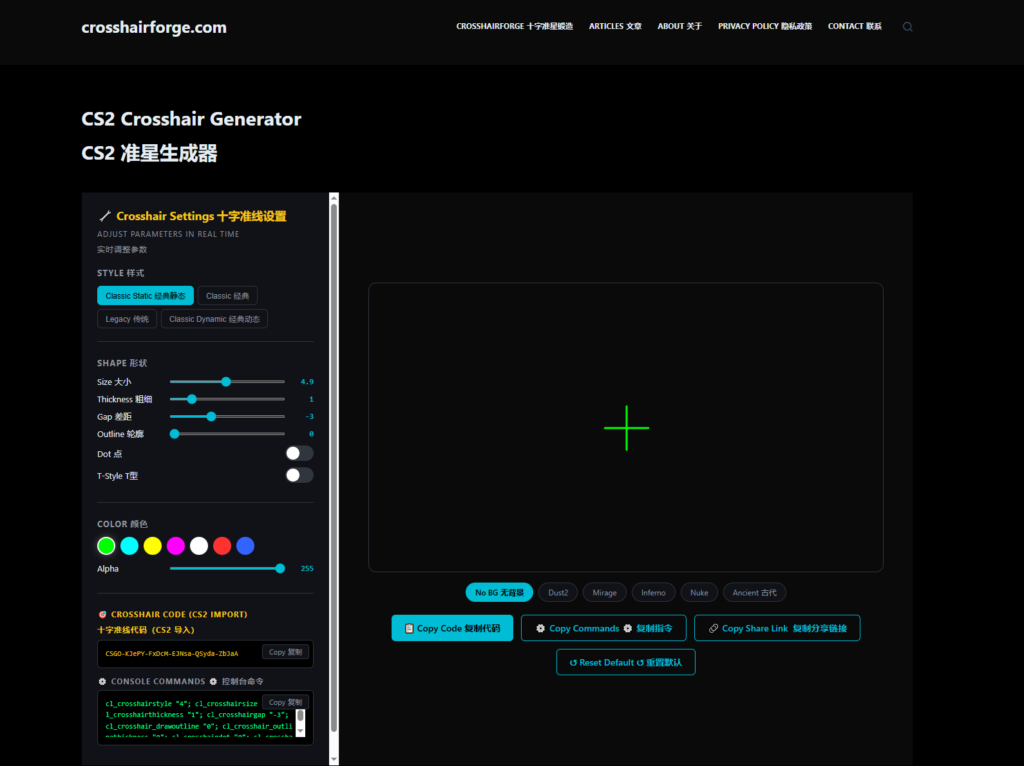
Pro Crosshair Settings You Can Copy (2026)
These are the settings I’ve verified in-game and tested myself. I’ve spent about an hour with each one to understand what they do differently:
| Player | Team | Color | Style | Key Feature |
|---|---|---|---|---|
| s1mple | Team Falcons | Green | Classic Static | Small, precise, minimal gap |
| ZywOo | Team Vitality | Cyan | Classic Static | Thin lines, wider gap for spray visibility |
| NiKo | G2 Esports | Green | Classic Static | Medium size, balanced for all ranges |
| m0NESY | G2 Esports | Cyan | Classic Static | Slightly larger, thicker borders |
| device | Astralis | Blue | Classic Static | Very small, tight gap, precision-focused |
| ropz | FaZe Clan | Purple | Classic Static | Compact, lower alpha for less visual clutter |
| donk | Team Spirit | Green | Classic Static | Larger crosshair with extreme -4.5 gap. Hard to use at first. |
| jL | Natus Vincere | Green | Classic Static | Standard size, all-purpose configuration |
One pattern I noticed: every single pro uses Classic Static. Not Dynamic, not Default, not anything else. If you’re still using Dynamic, try Static for a week — it took me about 3 days to adjust, but I haven’t looked back.
For the official CS2 crosshair documentation, check Valve’s CS2 updates on Steam for the latest command changes and patch notes.
\n \n\nIf you want precise control over how to change crosshair in CS2, console commands give you every parameter with exact values.
Method 3: Console Commands (For Precision Control)
If you want exact control — or you’re copying a setup from a guide — the developer console is your friend. I use this mainly for my autoexec.cfg so my crosshair resets to exactly what I want every time I launch the game.
First, enable the console:
- Settings → Game → Enable Developer Console → Yes
- Press
~(tilde key) to open the console
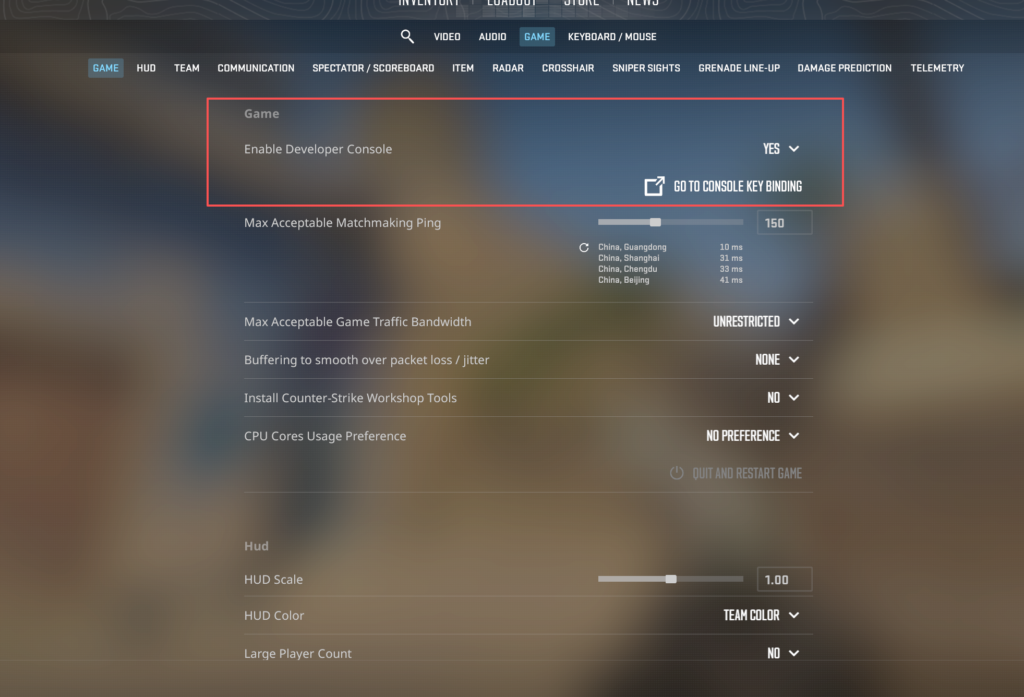
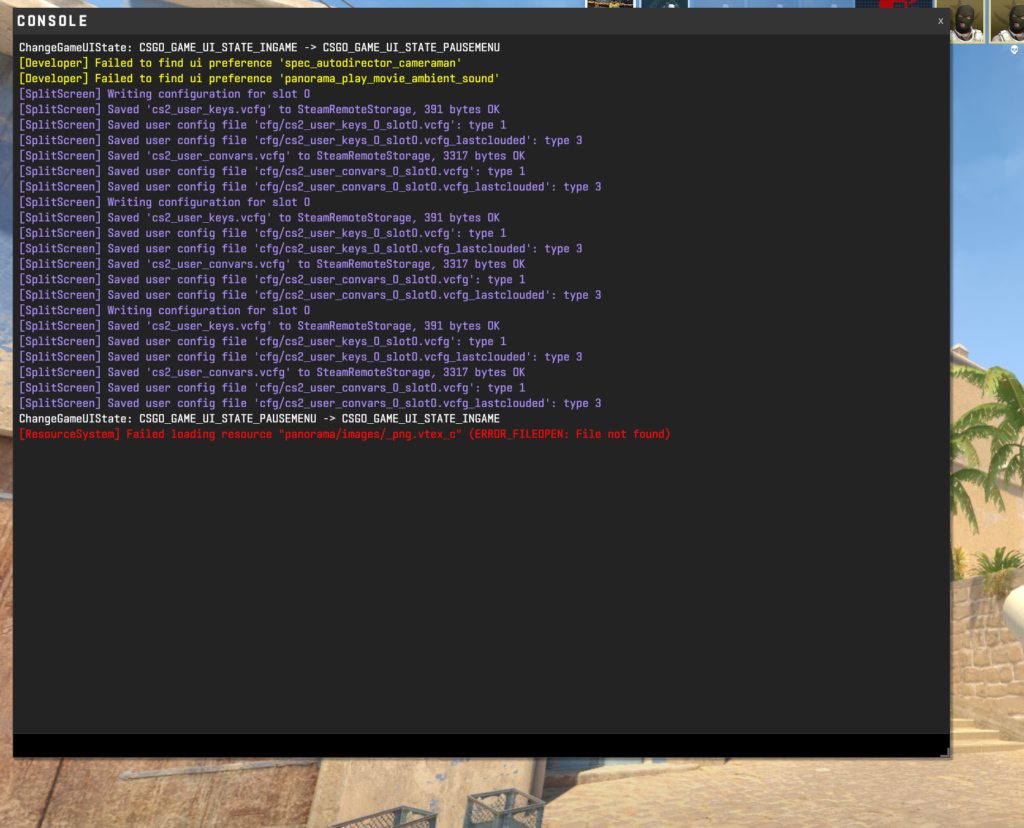
Key commands I use regularly:
| Command | Example | What It Does |
|---|---|---|
cl_crosshaircolor | 5 | Custom color (use with r/g/b below) |
cl_crosshaircolor_r | 0 | Red value 0-255 |
cl_crosshaircolor_g | 255 | Green value 0-255 |
cl_crosshaircolor_b | 0 | Blue value 0-255 |
cl_crosshairsize | 2.5 | Line length |
cl_crosshairthickness | 0.5 | Line width |
cl_crosshairgap | -1.0 | Gap between lines |
cl_crosshairdot | 0 | Center dot (0=off) |
cl_crosshair_drawoutline | 1 | Dark border for visibility |
cl_crosshairalpha | 255 | Transparency |
To save these permanently, add them to your autoexec.cfg file. Path: Steam\steamapps\common\Counter-Strike Global Offensive\game\csgo\cfg\. If you don’t have one, just create a text file named autoexec.cfg and add each command on its own line.
Even if you already know how to change crosshair in CS2, these mistakes can ruin your new setup. Knowing how to change crosshair settings properly is just the first step — avoiding these errors is what separates good aim from great aim., it is easy to make these common mistakes that hurt your aim.
\n \n\nCommon Crosshair Mistakes I’ve Made (So You Don’t Have To)
I’ve made every mistake on this list. Some of them took weeks to recognize:
- ❌ Crosshair too large — I used length 5 for months. It blocked half my screen at long range.
- ❌ Crosshair too small — Tried donk’s -4.5 gap cold turkey. Couldn’t find my crosshair for a week.
- ❌ Bad color choice — Red crosshair on Inferno = invisible. Switched to pink and it fixed everything.
- ❌ Dynamic crosshair — Used it since CS:GO. Thought it helped. Tried static for a week. Never went back.
- ❌ Follow Recoil on — Crosshair jumps around during spray. It looks useful in theory, but it messes with muscle memory.
- ❌ No outline — On bright maps like Mirage, a crosshair without outline disappears into the skybox.
These are the most common questions about how to change crosshair in CS2 — whether you are new to Counter-Strike 2 or a returning player looking to adjust your crosshair settings — answered directly.
\n \n\nFAQ
How do I copy someone’s crosshair in CS2?
Ask them for their crosshair code. Go to Settings → Crosshair → Share or Import, paste it, and click Import. Done in 10 seconds.
What’s the best crosshair color?
Green and cyan are the most popular among pros. I use green by default and switch to pink on Inferno. Avoid red (blends with enemy outlines) and yellow (low contrast on bright maps).
Can I use my CS:GO crosshair in CS2?
Yes, CS2 automatically converts most CS:GO settings. If you have an autoexec.cfg from CS:GO, it should carry over with minor adjustments.
How do I reset to default?
Settings → Crosshair → “Reset to Default” at the bottom. Or in console: exec reset.cfg.
Classic Static vs Classic Dynamic — what’s the difference?
Dynamic expands when moving or firing to show inaccuracy. Static stays fixed. Over 95% of pros use Static. I switched after 2 years of Dynamic and gained consistency.
After learning how to change crosshair in CS2 settings and console, here is my personal routine for finding a new crosshair that sticks.
\n \n\nMy Routine for Finding a New Crosshair
If you’re starting from scratch or switching to a pro setup, here’s the process that worked for me:
- Start with a pro’s code — s1mple or ZywOo are great starting points. Balanced, not extreme.
- Play 3 Deathmatch rounds — Test visibility at long range (A site to pit on Dust 2), close range (underpass), and against bright backgrounds (Mirage A ramp).
- Change one parameter — If something feels off, change exactly one setting per session. Changing 3 things at once means you won’t know what fixed it.
- Give it 3 days — A new crosshair feels wrong for the first 2-3 sessions. That’s normal. Your brain needs time to recalibrate.
- If it still doesn’t click after a week, change it — Not every setup works for everyone. donk’s extreme -4.5 gap works for him. I couldn’t make it work in a week, so I adjusted to -2.0.
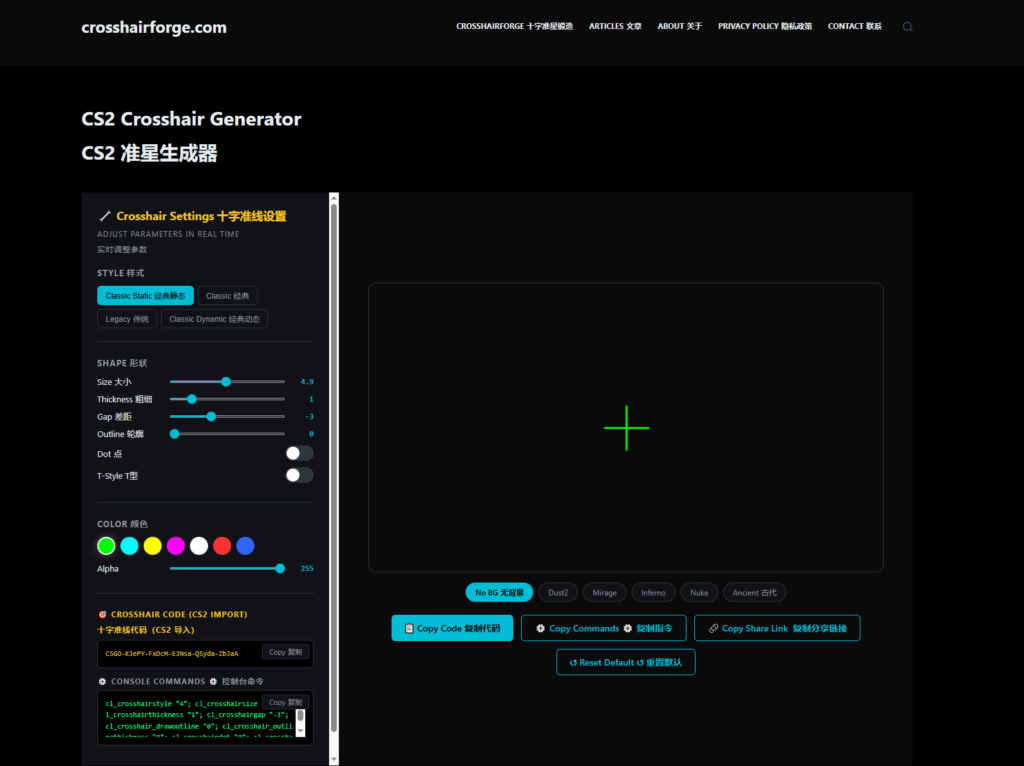
Want to browse, generate, and test crosshair codes without launching CS2? Try our Crosshair Generator — it’s exactly what I built because I got tired of alt-tabbing.
Related guides: Crosshair Generator · Pro Settings Comparison · Sensitivity Guide · Complete Settings Guide
\nWhether you are learning how to change crosshair in CS2 for the first time or fine-tuning your CS2 crosshair settings for the hundredth, the key is to pick a setup and stick with it. Changing your crosshair settings too often will prevent muscle memory from developing.
\n \n\nFinal Thoughts
Your crosshair is personal. What works for donk might not work for you, and that’s fine. I’ve been through about 15 different crosshair configurations over the years — from a giant green plus sign to a tiny cyan dot to NiKo’s balanced static setup. Every time I switched, my aim wobbled for a few days, then settled in.
Here’s what I’d tell my younger self: start with a pro’s static crosshair, tune one parameter at a time — and if you’re still struggling, check our step-by-step sensitivity guide at a time, give it a week, and stop changing it once it feels right. Your skill comes from practice, not from finding the magic number.
If you want to browse pro crosshair codes without installing anything, check out the Pro Crosshair Database — same data I used to find my current setup.
Last updated: June 2026 — CrosshairForge.com
Learning how to change crosshair in CS2 was a game-changer for me. For the longest time, I played with the default CS2 crosshair. Not because I liked it — because I didn’t know I could change it. I’d be watching pro streams, see those crisp green crosses, and wonder how my aim would feel if mine looked like that.
Then one day after a particularly frustrating deathmatch session (I kept losing the dot in smoke), I finally opened the Settings menu. What I found was overwhelming — sliders for gap, thickness, outline, alpha. I spent the next 3 hours changing one parameter, dying, quitting, changing it back, dying again.
This guide is what I wish I had that day. Whether you’re brand new to CS2 or a returning player looking to dial in your setup, I’ll walk through everything: the in-game menu, crosshair codes (the easiest way to copy pro setups), and the console commands if you want precision control. No fluff, just what works.